Do you struggle to create soft, diffused haircuts in curly hair? The Air Cut may be the solution!
While many stylists choose a freehand, art-based approach to cutting textured hair (also called curl-by-curl cutting), the Air Cut is a science-based approach. There’s still plenty of artistry, but this technique uses the science of texture to help you determine how to cut your guest’s hair. By intentionally pairing glide cutting techniques with defined sections or Zones, you can create more volume and movement by opening up the hair shape.
The Air Cut delivers predictable, repeatable results and lets your guest wear their hair natural or straight with no hard lines! Adding air to the haircut makes it easier for guests to style their hair with beautiful results.
Ashley Brown is an Air Cut pro who specializes in medium- to high-texture hair types at her Brookfield, Wisconsin salon. She’s a stylist mentor, Sam Villa Ambassador and Mizani Artist with over two decades in the hair industry. Ashley is passionate about creating solutions for wavy, curly and coily hair, as guests with different hair textures often come to the salon with different concerns.
For example, wavy hair may be voluminous through the ends, creating a “triangle” shape. Curly hair tends to grow out sideways, which can lead to an “earmuff” effect in which the curls puff out around the ears. Coily hair grows straight up in a rounded Afro shape. By understanding how different techniques interact with the curl pattern, we can create custom solutions for every curly-haired guest.
Sectioning for the Air Cut
An in-depth consultation (ideally before the haircut appointment) is essential for a successful Air Cut. Your guest should arrive with their curls freshly shampooed, conditioned and air dried with Mizani 25 Miracle Milk Leave-In Conditioner in the hair.
The magic of the Air Cut comes from its unique sectioning method! Working with the hair in 7 Zones, or sections, allows you to preserve strength, remove bulk and create soft diffusion in the right areas of the head shape. Cutting in Zones also allows for a consistent, recreatable cut that can be easily replicated if your guest loves the results!

Zone 1 [Frame]
- Around the hairline (the section should be narrow enough to see through)Zone 2 [Foundation] - Nape to occipital, on the client’s left side
Zone 3 [Foundation] - Nape to occipital, on the client’s right side
Zone 4 [Support] - Just above the ear to just above the recession area, on the client’s left side
Zone 5 [Support] - Just above the ear to just above the recession area, on the client’s right side
Zone 6 [Crown] - The crown area
Zone 7 [Canopy] - The top of the head
It’s important not to disrupt your guest’s natural curl pattern while sectioning. Gently twist each section, push it against the scalp and secure with Sam Villa Dry Sectioning Clips. Avoid tightly rolling, pulling or stretching the hair, as this could add too much tension and obscure the curl pattern. Remember, your goal is to work WITH the natural texture!
Creating the Air Cut
Unfortunately, many of our textured guests have had negative salon experiences in the past. Your guest may be wary of losing too much length, or simply unsure if you know how to work with their hair!
For this reason, it’s recommended to create the Air Cut with your guest facing the mirror. This not only builds trust with your client, it’s an amazing opportunity to add value by explaining what you’re doing and why! Work through the Zones in order from 1-7.
Zone 1: Cutting the Perimeter

Begin by pushing the front sections of hair forward over the guest’s shoulders. Standing in front of the guest, place your cutting comb into the hair as a guide. Avoid adding tension to the hair by pulling on the comb. Create a linear cut (a blunt line) to the length of the guide with the Signature Series 7" Dry Cutting Shear.
Next, turn your guest around and sweep the newly-cut hair behind the shoulders. Using the cut sections as a guide, cut the back sections to the same length.
Zone 1: Detailing Around the Face

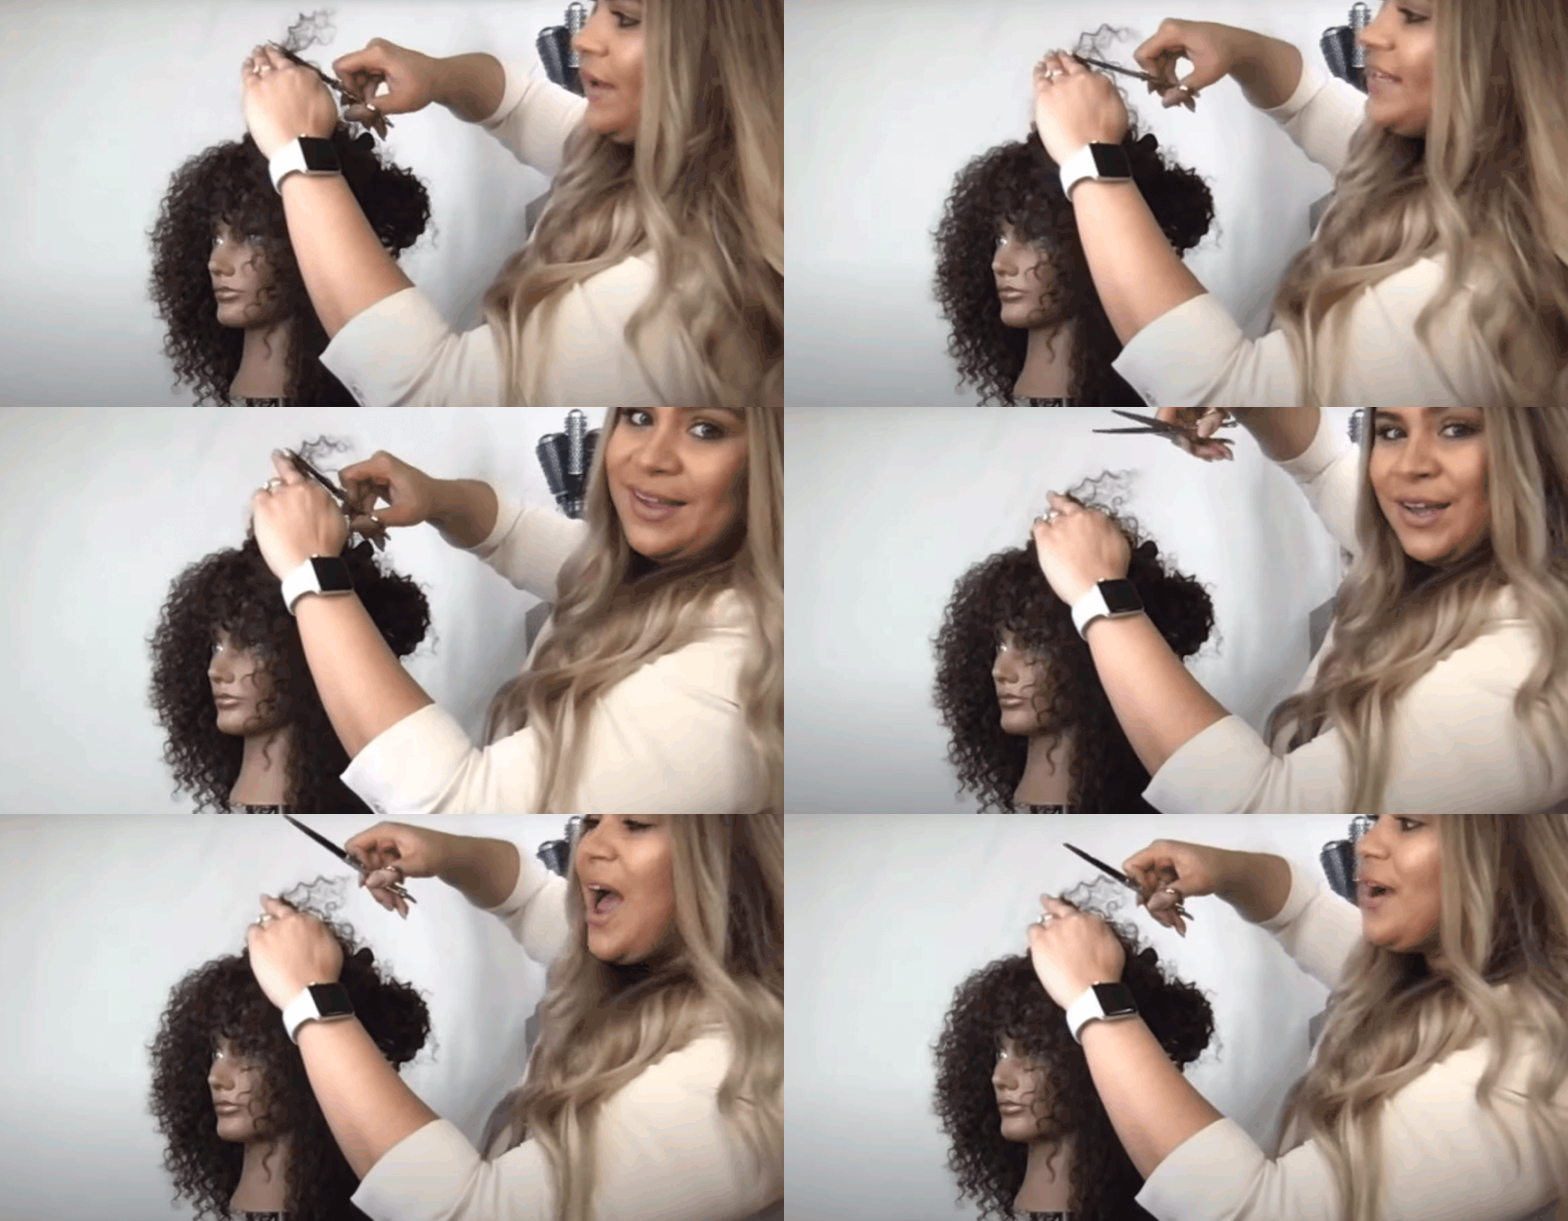
Create the face frame using a freehand glide technique (similar to curl-by-curl cutting). Pick up one spiral at a time, pinch right below the curl that you want to cut, and lift it gently up and towards you.
Place your shears over the curl, with the tips pointing down, and curve them around the curl in a “C” motion as you cut. This creates a small pocket of air in the hair shape. Repeat with the remaining curls, working from the top of the face frame down to the perimeter.
Ashley suggests cutting a step fringe, with about a spiral and a half between each step.
Zones 2 and 3: Preserving Strength while Creating Softness

The goal for Zones 2 and 3 (the nape area) is to maintain weight while softly diffusing the ends using an exterior glide technique. For higher-density hair, you may need to remove more bulk to give the hair movement and softness.

- TIP: Ashley recommends testing the hair’s density as you work through each zone, because textured guests may have different density levels in different areas. To check density, pull the hair into a low ponytail with your index finger and thumb. Slide your index finger and thumb down the hair shaft and see where your index finger touches your thumb. If it’s near the base of your thumb, the hair is low density. If it’s around the knuckle of the thumb, the hair is medium density. If it’s past the knuckle, the hair is high density.
Standing in front of your guest on the side of the section you plan to cut, pick up a horizontal subsection of hair from the back. Prep this subsection with Mizani Miracle Milk and over-direct it forward. Grip the hair securely between your index and middle fingers at a 45 degree angle. Step back around behind the guest so that you’re standing in front of the section.
Now drop your index finger and thumb away from you to create slack in the hair. Bring your shears over the section with the tips pointed down. Curve the shears towards you as you close the blades around the hair to create soft, diffused ends.
Repeat with the remaining hair, working up the head in horizontal subsections. Finish by raking Mizani Miracle Milk through the curls, checking the length and freehand cutting any loose hairs.
Zones 4 and 5: Building Texture and Movement
Unclip the hair above the ear on one side, and take a diagonal back subsection. Prep the hair with Mizani Miracle Milk and over-direct it forward. Place the subsection over the face frame, identify a face-framing layer to use as a guide, and place your fingers into the hair at the length of the guide.
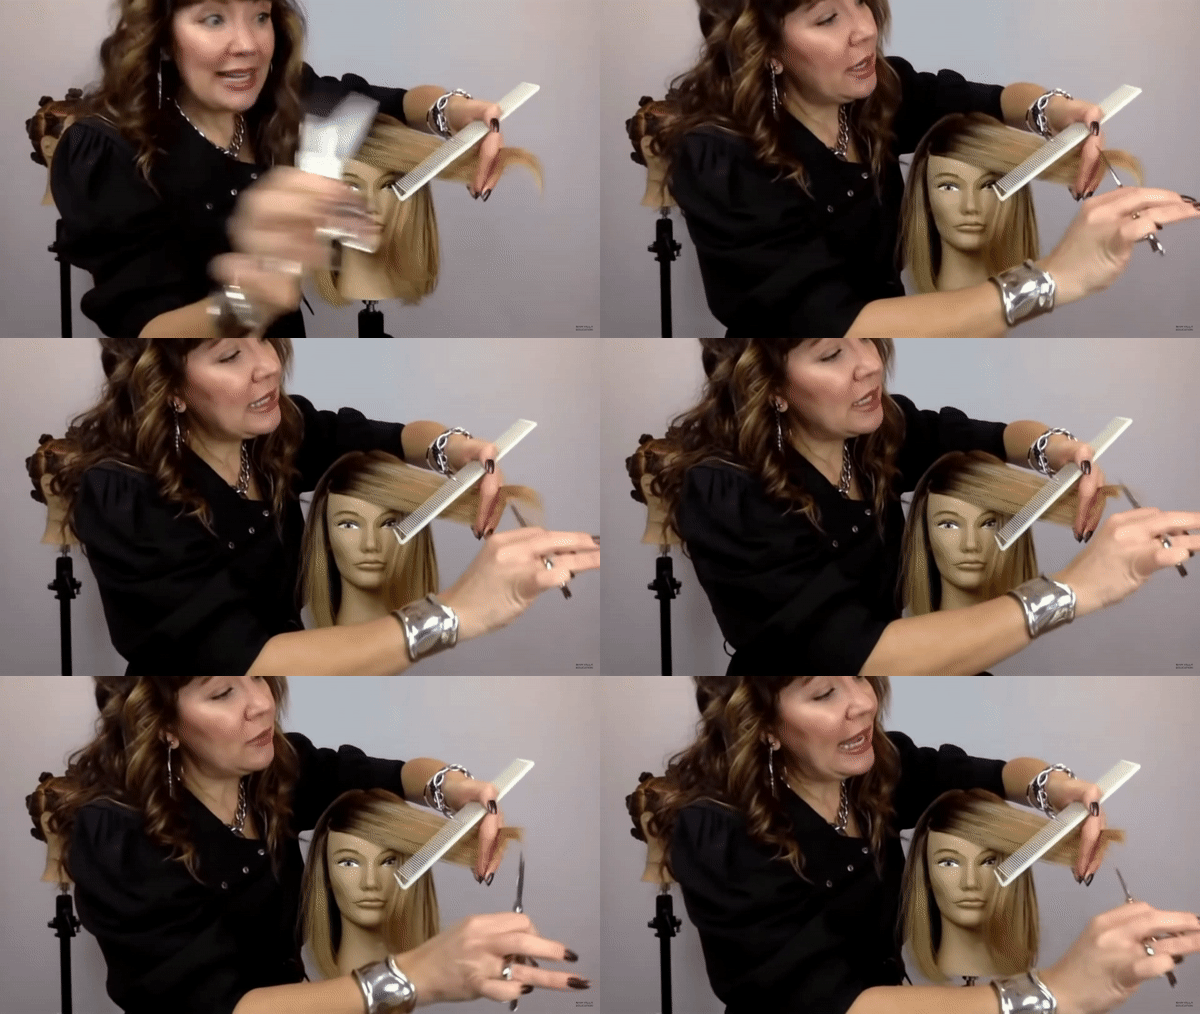
Next, rotate your hand so that it’s flat with your palm facing down. Bring your shears up from underneath the section with the tips pointed up. Curve the shears in a “C” shape as you close the blades around the hair.
Avoid sliding or scraping the blades along the hair shaft, which can damage the cuticle and create frizz. This slide glide technique should result in blunt ends that are light and diffused.
After cutting the subsection, drop it back down over the face frame while maintaining your grip on the hair. Lightly slide your fingers out and cut any remaining loose hairs.
Repeat this process with the rest of the diagonal back subsections. Then follow the same steps on the other side of the head.
Zones 6: Removing Bulk and Shaping the Haircut

Depending on your guest’s texture and density, they may have a lot of weight in the crown area. The interior glide technique allows for more aggressive weight removal to create softness.
Standing in front of your guest on the side of the section you plan to cut, pick up a horizontal subsection of hair from the back. Prep this subsection with Mizani Miracle Milk and over-direct it forward. If the subsection doesn’t reach the perimeter, “ride the glide” by sliding your fingers up to the hair. Clamp the subsection securely between your index and middle fingers at just above a 45 degree angle. Move back around so that you’re standing directly behind the subsection.
Before you cut, determine how much diffusion you want to create in the hair shape. As a general rule, the higher your guest’s density and the more diffusion you want, the higher up the hair shaft you can cut. For consistency, be sure to cut at the same place in the curl shape and cut the same number of curls each time.
Bring your shears over the section with the tips pointed down. Working with just the shear tips, curve the shears towards you as you close the blades around the hair. This helps to collapse the texture while removing lots of bulk from the crown.
Work through the rest of Zone 6, alternating between exterior glide and interior glide techniques to create a balanced cut. Finish by raking Mizani Miracle Milk through the curls, checking the length and freehand cutting any loose hairs.
Zone 7: Adding Lift and Volume on Top

The hair on top of the head needs to blend with the fringe, so the upward glide technique used to cut this section is similar to the freehand glide used to create the fringe.
Begin by prepping the section with Mizani Miracle Milk. Place a small subsection over the fringe and identify a face-framing layer to use as a guide. Pinch the hair one curl below the length of the guide and elevate it vertically. Curve your shears upwards as you close the blades around the hair.
Repeat with the remaining subsections. Finish by raking Mizani Miracle Milk through the curls, checking the length and freehand cutting any loose hairs.
Finishing the Air Cut
One great feature of the Air Cut is that it doesn’t require much work to finish. Since you’ve been adding Mizani Miracle Milk to each section as you cut, the hair should already be hydrated with great definition! You can add additional curl product if the hair is extra-dry, or do a wash-and-go service for your guest.
Creating a Texture-Inclusive Salon
Many stylists simply weren’t taught how to properly cut wavy, curly or coily hair but it’s never too late to learn! As industry professionals, it’s our responsibility to ensure we have the skillset to work with ALL hair textures.
The movement towards natural textured hair will only continue to grow, and knowing how to bring out the best in these hair types is key to creating a welcoming, inclusive salon space. Don’t forget to educate your guests on how to care for and style their new haircuts at home!
Ashley Brown Social Info:
Sam Villa is Co-founder and Chief Creative Officer of the Sam Villa Company (Allvus, LLC), a leading education and styling tool company for the professional hair industry. He is also Global Artistic Ambassador for Redken 5th Avenue, a L’Oreal brand. Villa is the 2020 International Hairdressing Awards ‘International Hair Influencer of the Year,’ the 2017 NAHA Lifetime Achievement Award Winner, Intercoiffure America/Canada Member, Behind the Chair Stylist Choice Award Winner for Favorite Platform Artist and Educator (2012, 2011 and 2007) and Favorite Overall Educator of the Year (2015). His inspiring education and innovative ergonomic styling tools can be experienced on samvilla.com. The Sam Villa brand brings free digital education to everyone including hot tips and techniques, as well as access to livestreamed educational events. The company also offers professional tools for consumers so they can achieve salon-quality results at home with minimum effort.


