Discover a simple method for cutting a full fringe in a few easy steps. You'll learn the correct finger angle and positioning to achieve a desired fringe with minimum effort. Finally, learn a simple way to bevel the fringe using your 9-row brush and a blow dryer. Let's get started.
Recommended Tools For Success
- Professional 7" Dry Cutting Shear.
- Professional Long Cutting Comb (Use Ivory for dark hair contrast and Black for light hair contrast).
- Professional 9 Row Finishing Brush.
- Professional Ionic Blow Dryer.
HOT TIP: ALWAYS cut a fringe dry for proper length and use the fine teeth of your comb to remove any natural growth patterns while styling.
Sectioning & Establishing Your Guides
- First we are going to create our guide and work from the center to the sides. Creating three sections.
- Always cut the fringe LONGER than the client wants.
- When cutting, work with the wide teeth of the comb. Keep the comb flat to the forehead and drop hair into the teeth and slowly rotate the comb out so the spine of the comb is against the forehead.

NOTE: If working with a client with blonde hair, use a black comb. When working with a brunette we recommend using an ivory comb. The contrast will allow you to see your lines and create a cleaner cut.
- Get eye level and make sure your line is correct adjust the comb if needed.
- Push the hair back into the spine of the comb.

- We suggest using the Professional 7” Dry Shear to cut the fringe, the longer blade will allow you to open and close the blade less. When you aren’t opening and closing it as frequent, it leaves less room for error.

- Taking the side section and using the center as your guide, place the spine of the comb to the head and cut.

- Take to the other side; using your center guide, your shear needs to be flush against the comb, then cut the section.

How To Take Off The Corners
- Take a vertical section down the center section of the fringe; we are going to cut the corner of the fringe off.
- Hand comes underneath, glued to the spine of the comb, pull the hair back and once the fringe pops out you will see a short piece of hair stick out, cut a horizontal line. This will create a natural bevel to the fringe.


- Repeat the same concept on each side section as well. Take a vertical section, place hand underneath and flush with the spine of the comb. Bring the section back until that short piece of hair pops up and cut a horizontal section.
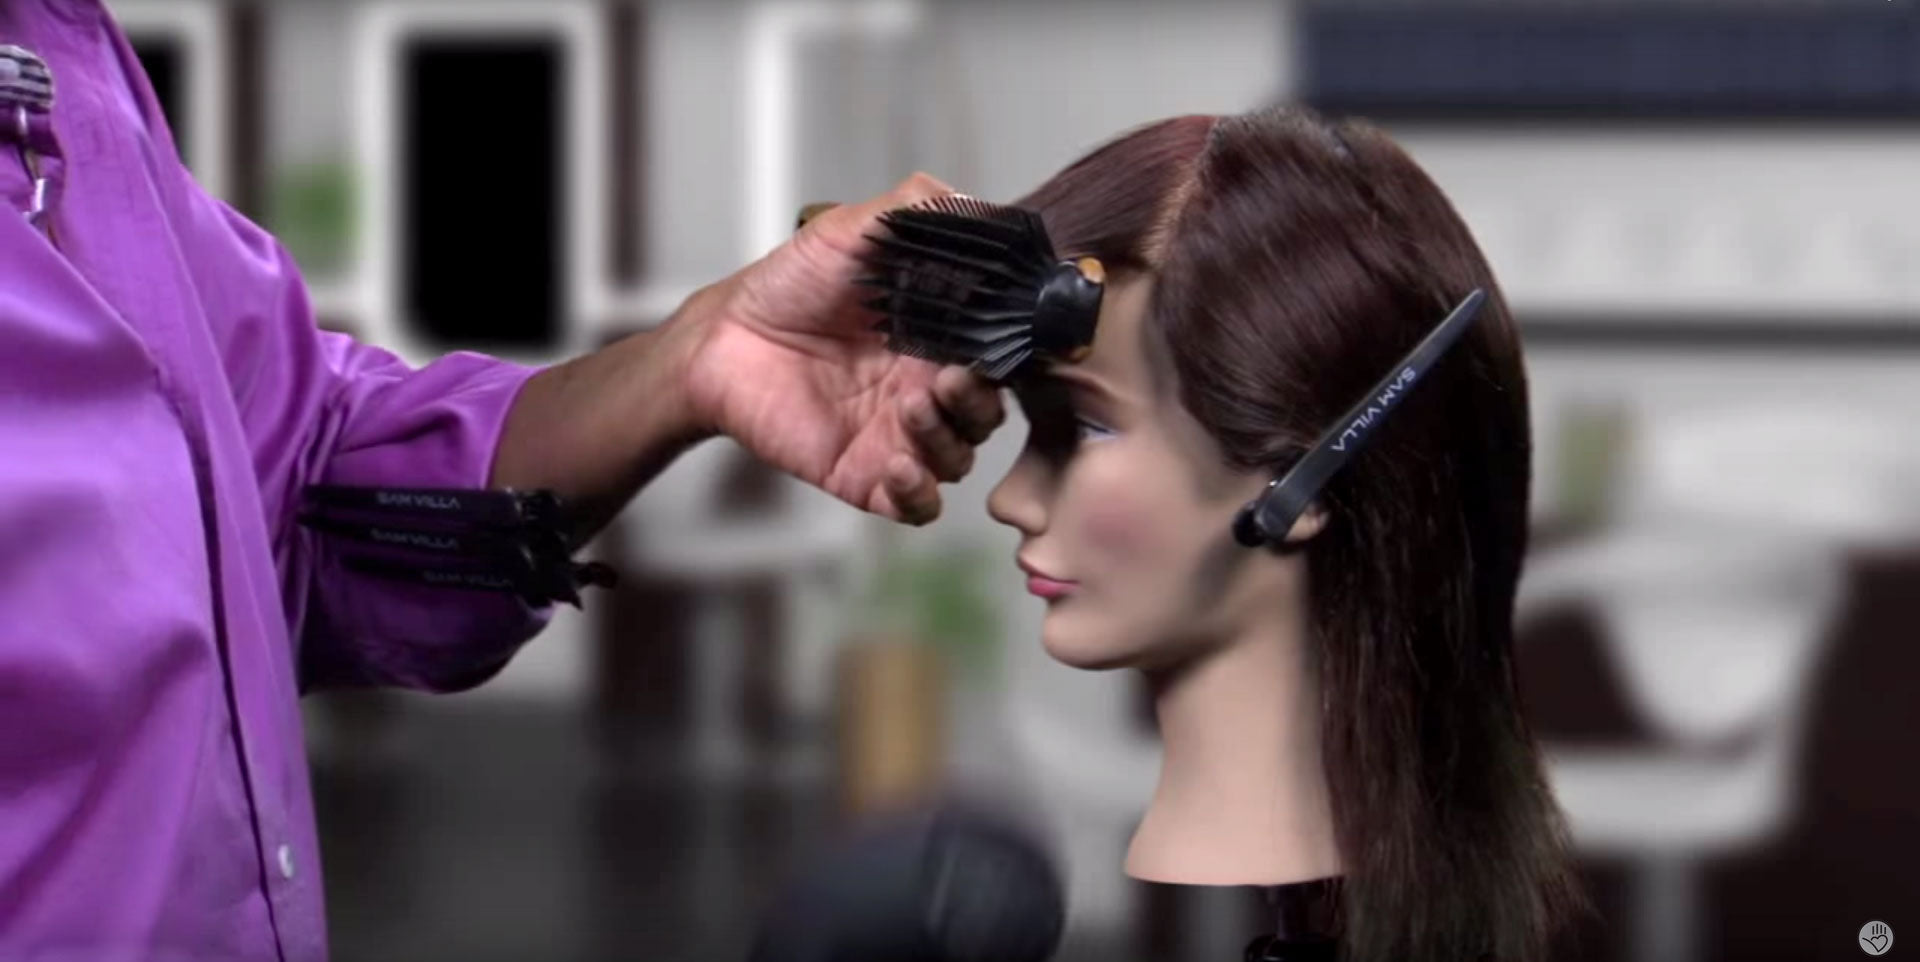
Finishing Fringe
Remember to teach your client how to style and finish their fringe at home.
Using your Professional 9-row finishing brush and a narrow nozzle with blow dryer, come in and position the brush first, under the fringe and rotate so the ends are inside the brush to create a bevel. Take your blow dryer, placing the nozzle behind the fringe but never on the bristles of the brush and blow dry to set the bevel. ALLOW IT TO COOL. Work in sections; side, center and opposite side.