As stylists, high-quality cutting shears are essential to our craft. Choosing the right tools can have a huge impact on your comfort, safety and the quality of your work.
But with seemingly endless options out there, it can be hard to know what to look for when selecting new shears. There are a lot of factors to consider— from blade length and handle design to materials and craftsmanship. When you understand how all of these factors affect your results behind the chair, you can find the right shears for YOU.
If you’re building (or upgrading) your shear collection, read on to discover how to choose the best professional hair cutting shears.
Index
How do I choose a professional shear?
When you’re choosing a new professional shear, it’s important to invest in quality and find the right tool for YOU and your needs. When choosing a shear remember that they can last up to 15 years or longer, depending on how often you sharpen and how you care for them. Choosing the right shears can enhance the quality of your work, prevent repetitive stress injuries, and make cutting hair easier and more fun. Here are a few tips to help you find your perfect (shear) match:
Know Your Goal
Before you go shear shopping, take some time to consider what tasks you need the tool to do in the salon. Are you looking for a powerful dry cutting shear? A blender? A smaller tool to do intricate detail work? Or a versatile mid-size shear that can handle a wide range of cutting techniques and hair types? Having a purpose in mind keeps you focused and helps you select the right tool for the job.
Choose Comfort
When it comes to choosing a professional shear there is no “one size fits all”. The most important thing is to select a shear that feels comfortable in your hand and that you can control. Blade length should be determined by your cutting technique, not your hand size.
Look for an Ergonomic Handle
Opening and closing your shears all day can place an incredible amount of strain on your hand, wrist and shoulder. The right handle design may help to reduce this strain by supporting positive ergonomics and healthy body positions.
If you’re looking for a pair of shears that were designed with ergonomics in mind, Sam Villa Shears are a must-have. Created in collaboration with a doctor, Sam Villa Shears have a forward-set thumb, which was chosen for its ability to keep your thumb in natural alignment with your should as you cut. Villa says, “These are like a pair of Louis Vuittons, they may take a week to get used to, but after that you’re performing at a higher level.”
Many other shears have opposing grip handles, which force you to bend your wrist and pull your thumb back to operate the blades. This can lead to repetitive wrist strain over time. Offset handles are a better option, as the shorter thumb blade helps you keep your hand and wrist in a more neutral position. For optimal comfort and safety, choose a crane handle. This modern ergonomic design opens up your hand and allows you to work with your elbow in a relaxed, lowered position.
Invest in Quality
High-quality tools have superior design features, hold an edge for longer and deliver better results. But keep in mind, just because a shear is expensive doesn’t mean it’s premium quality! Unfortunately, there are many unscrupulous shear sellers that market low-end tools as “top quality” and even “made in Japan”. Well-made shears should have excellent craftsmanship, such as high-grade Japanese steel, handcrafted convex blades, and polymer lining in the pivot. Always buy from an established, trusted company and make sure you have a rock-solid warranty on your investment.
Build a Kit
Different shears are designed to serve different functions, so it’s important to have a range of tools available in the salon. If you’re a student or new stylist, start with the basics: a wet cutting shear, a longer dry cutting shear, an invisible blender, and a more aggressive texturizing shear. As you continue to grow your craft, take note of the techniques you perform most often and invest in more specialized tools. You’ll see a difference in your results, creativity and excitement behind the chair!
Go back to The index.
Types of hair cutting shears
Haircutting is a craft, and it’s important to have the right tools for every hair type and technique. As you curate your toolkit, make sure to include the following types of hair cutting shears:
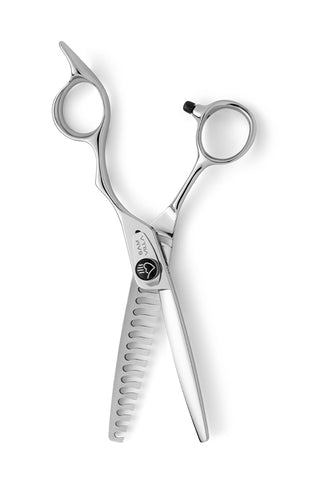
Blending or Thinning Shears – also called Texturizing Shears
Blending/thinning shears remove weight and bulk without leaving hard lines in the hair. These shears help you work faster and create more consistent, natural-looking results. Consider getting two blending shears— a delicate, seamless blender for invisible texture and a powerful texturizing shear for more aggressive weight removal.
Signature Series Invisiblend Shear
Signature Series Reversible Blending Shear
Swivel Shears
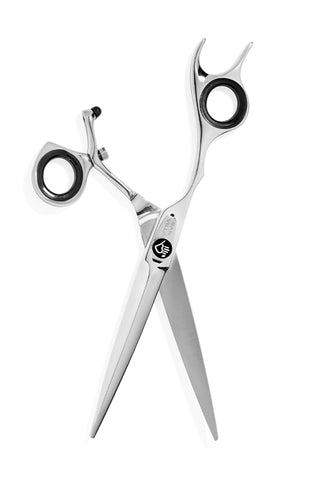
It’s no secret that cutting hair all day can lead to aches, pains and repetitive strain injuries. Swivel shears help to prevent these problems and extend the longevity of your career. These ergonomic tools allow you to keep your wrist straight and your elbow relaxed at your side, while steering the blades with just your fingers. They are available in both wet cutting and dry cutting designs with a variety of blade lengths.
Wet Cutting Shears
You’ll probably find yourself reaching for your wet cutting shears most often, so it makes sense to invest in quality shears. Look for convex blades, high-quality materials, and an ergonomic handle (ideally a crane handle or offset handle). Wet cutting shears can be used for a wide range of techniques on wet, damp or dry hair.
Dry Cutting Shears
Dry cutting can be intimidating, but the right tool makes all the difference! Longer blades, a convex edge and sword blade design give you the power to glide smoothly through dry hair. Use your dry cutting shears for deep point cutting, texturizing, condensed cutting, and working with thick or coarse hair. Dry cutting shears are also excellent for cutting and adding deep texture to hair extensions.
Signature Series Dry Cutting Shear
Slide Cutting Shears
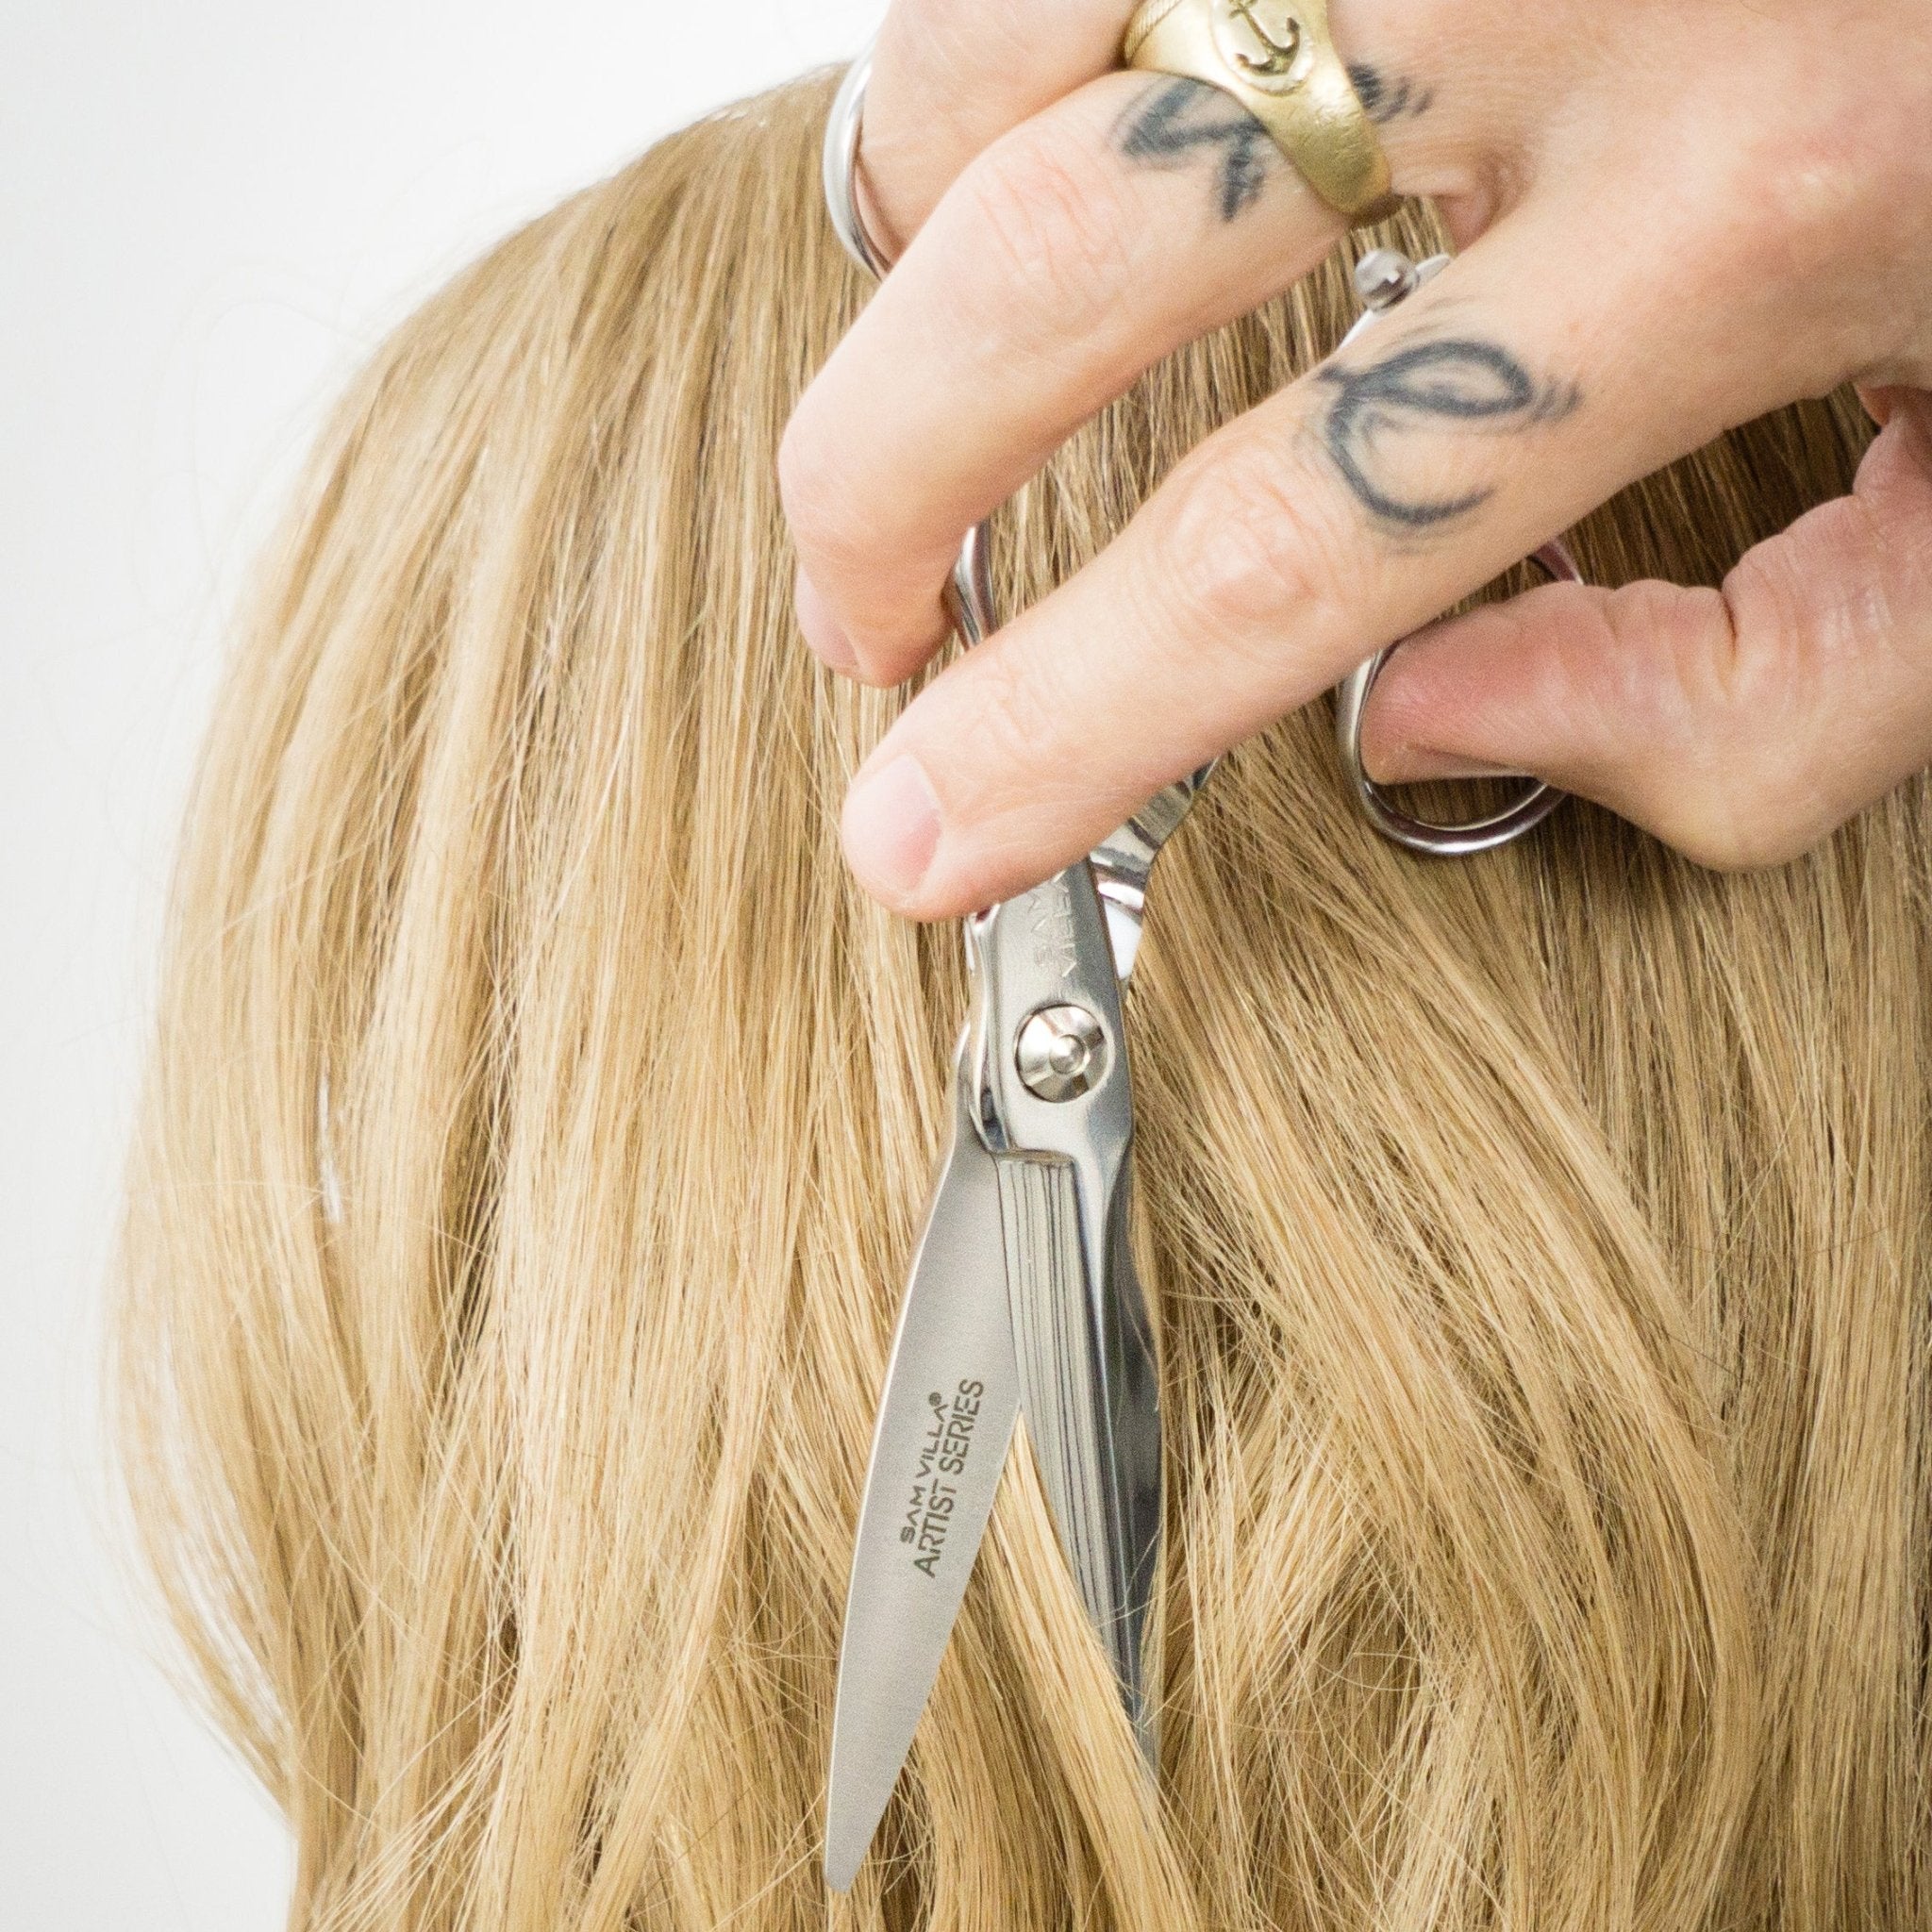
Slide cutting shouldn’t be a struggle! An ultra-sharp convex blade will slide through the hair with minimal force, and without ripping the cuticle. Slide cutting shears are ideal for all motion cutting techniques and create beautiful soft edges.
Artist Series Slide Cutting Shear
Point Cutting Shears
Save time and create beautiful “point cutting” texture with no notches or hard lines. A point cutting shear has curved teeth that quickly remove weight while creating separation and negative space in the hair. It’s the easiest way to achieve consistent, natural-looking texture!
Classic Series 14 Tooth Point Cutting Shear
True Left Handed Shears (For Left Handed Stylists)
Left handed stylists need left handed shears in order to work safely and comfortably. Look for “true left handed shears”. All Sam Villa Shears, excluding the 6.25” Artist Series Shear, are available in true left handed designs.
How do you know if you’re using a true left handed shear?
It’s quite simple. Hold your shear out in front of you in your left hand. If the top cutting blade is the frontmost blade, you are using a true left handed shear. If the top cutting blade is behind the bottom blade, you’re using a flipped right handed shear.
Pulling It All Together
At this point, you may be wondering if you really need dedicated slide cutting, point cutting or texturizing shears. Can’t a basic cutting shear get the job done?
The short answer is yes— a few versatile tools are enough to create TONS of beautiful haircuts! But as you continue to grow your craft, you may find that different shears create subtly different effects. Having a variety of tools available helps you get more creative and have more control over your finishes. It also demonstrates value and professionalism to your guests.
If you’re just getting started, invest in high-quality staple shears and plan to expand your shear kit over time. Remember, an investment in your tools is an investment in your future!
Go back to The index.
Shear blade types
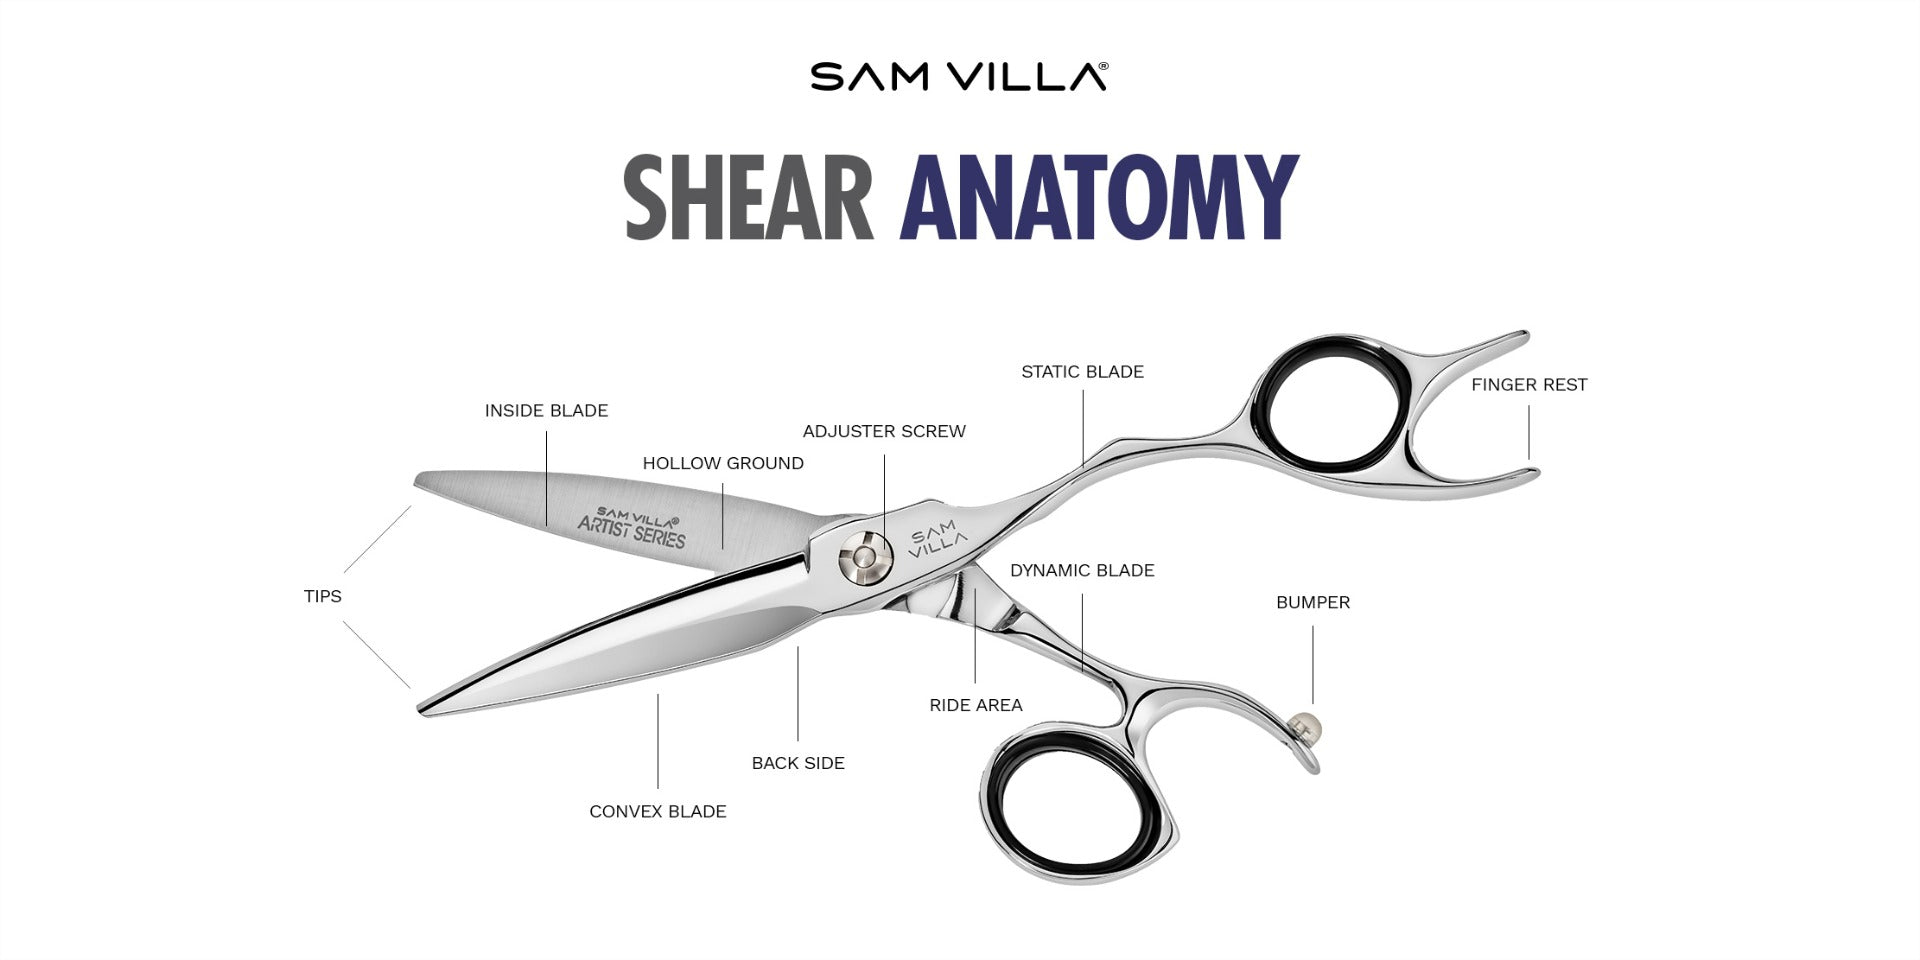
Your shear blades are more than just a sharp edge! The shape and structure of the blades has a major impact on the cutting power, ergonomics and longevity of your shears. Shear blades come in three main types: convex, semi-convex and beveled.
Convex blades are the top-of-the-line blades and deliver superior results. With convex blades, the outer edge of the blade is curved and the cutting edge is ultra-sharp. This allows the shears to glide smoothly through the hair with less force. Convex blades are excellent for slide cutting, point cutting, and precision cutting techniques. They require less frequent sharpening, and thus have a longer lifespan than other shear types.
Semi-convex blades are a cross between convex and beveled shears. The blade is slightly curved with a narrow beveled edge. Semi-convex shears are a durable option and may be more affordable than true convex shears.
Beveled blades are the traditional blade style and feature a thick, squared-off cutting edge. While this classic design can work well, it requires more force to push the blades through the hair. For this reason, beveled blades are not recommended for advanced cutting techniques on dry hair. Beveled blades are usually the least expensive option and can be quite durable, although they must be sharpened often.
Go back to The index.
Shear blade lengths
A shear’s blade length is measured from the tip of the blade to the outside of the finger ring (not including the finger rest). Professional shears range from 4.5” to 8” in length; a standard cutting shear is 5.5” to 6.25”. While many people believe that blade length should be determined by hand size, this is actually not the case. Instead, choose a blade length based on your cutting technique and desired results.
It’s important to have shears with several different blade lengths on hand, as some techniques require a longer or shorter blade. As you build your haircutting toolkit, make sure to include all of these shear blade lengths:
Shorter shears (4.5” to 5.5”) are a great option for intricate detail work and precision cutting. The smaller blades let you work close to the head shape to cut fringe or create short specialty haircuts.
Midsize shears (5.75” to 6.25”) are versatile and can handle a wide variety of cutting tasks. Perfect for cutting hair palm to palm, your midsize shears are a true workhorse in your arsenal.
Longer shears (6.5” and longer) are a must-have for deep point cutting, slide cutting, and shear over comb work. Many stylists prefer long sword blades for dry cutting thick, coarse or dense hair.
Go back to The index.
Shear Handles & Grips
Your shear’s handle design has a major impact on your ergonomics and comfort throughout the day. Ideally, the handle should allow you to cut in various positions while keeping your wrist straight, your shoulder relaxed and your hand in a neutral open position.
Shear handles come in three main types:
-
Opposing grip handles have the finger and thumb holes directly across from each other. This forces you to bend your thumb back while you work, which can cause discomfort and strain. This handle style also requires you to bend your wrist slightly and raise your elbow while you cut.
-
Offset handles have a slightly shorter thumb blade, so you don’t need to pull your thumb back while cutting. This delivers a more comfortable, ergonomic cutting experience. However, offset handles may still require you to lift your elbow while working.
-
Crane handles are the most ergonomic option, featuring an extreme offset thumb that opens up the hand and allows you to work with your elbow in a safe, lowered position. The crane design requires less thumb motion to control the blades and allows you to maintain a straight, neutral wrist while cutting. This relieves stress on the shoulder, hand and wrist.
One important feature of shear handle design is the thumb grip. After all, your thumb does most of the hard work! Choosing the right thumb grip can lower the risk of developing carpal tunnel syndrome, tendonitis or chronic pain.
Here are some of the options for thumb grips:
-
Opposing thumb grip - The finger and thumb rings are in a stacked position, requiring you to bend your thumb to reach the grip. (Not recommended.)
-
Offset thumb grip - The thumb ring is set forward, so the thumb does not need to travel as far while cutting as it would with opposing grip shears.
-
Forward set thumb grip - The thumb grip is sculpted and set farther forward to support a natural, neutral hand position.
-
Swivel thumb grip - The thumb grip is set forward AND rotates, allowing you to steer and control the blades with just your fingers. The swivel thumb lets you achieve almost any cutting angle without lifting your elbow above your shoulder.
The preferred choice for stylists is a crane handle with a forward or forward swivel thumb grip. This ergonomic combination reduces wrist, neck and shoulder pain while increasing precision control.
Go back to The index.
Shear Tension
Did you know that maintaining the proper tension is essential to the precision and performance of your shears? Over time shears naturally loosen slightly, causing the cutting edges to lose contact with each other. When this happens, the shears fold and push the hair instead of cutting it.
Many stylists think their shears are dull, when in fact the real problem is a lack of tension. However, too much tension is not good either. Excess tension can wear out the edges and put unnecessary stress on the stylist’s hand.
Slightly higher tension is ideal to ensure even, balanced pressure from pivot to tip.It’s important to find the optimum level of tension— not too tight or too loose.
Follow these steps daily for perfect shear tension:
-
Step #1: Start with clean, well-oiled shears.
-
Step #2: Use your screwdriver, adjuster key or fingers to loosen the blades slightly (by 1-2 clicks).
-
Step #3: Holding the thumb grip, lift the finger blade so that the blades are at a 45 degree angle to one another.
-
Step #4: Release the finger blade. If the blades fall closed on their own, increase the tension by one click or one turn of the screw.
-
Step #5: Repeat Steps #3-4 until the finger blade does not move when released.
Watch this video to see Andrew Carruthers demonstrate the adjustment process!
Go back to The index.
Shear Steel Quality
Most professional cutting shears are made of stainless steel— but the quality and craftsmanship vary widely. Scissor steel is manufactured in just a few countries: Japan, Germany, Korea, Taiwan, China, India and Pakistan. Japanese steel shears are widely regarded as the best in the world. The premium material delivers fine, ultra-sharp edges that glide smoothly through all hair types.
German steel is also a viable choice for shears, and used to be the preferred option for stylists in the past. German steel shears are hard, durable and powerful, but the blunter edges can damage the cuticle. Korean, Taiwanese and Chinese steel shears are less expensive options, but the slightly softer metal doesn’t hold an edge as well. These cheaper tools require more frequent sharpening and must be replaced more often than Japanese steel shears. Pakistani and Indian steels are not recommended for professional shears due to their poor quality.
Stainless steel is an alloy, or mixture, of iron, chromium carbon and other metals. Iron is the primary metal, while carbon helps the steel to harden and hold a sharp edge. Chromium prevents corrosion and makes the tool more heat resistant to withstand forging and finishing. Molybdenum may be added to increase the strength, hardness, and toughness of the blade for that effortless “hot knife through butter” cutting experience.
Scissor steels are ranked based on the specific blend of metals used in their production. Here are the stainless steels used in shear manufacturing from lowest to highest quality:
- 420
- 440A
- 4440B
- 440C
- S1
- S3
- V1
- V3
- VG-10
- ATS-314
Low-end Pakistani shears use 420 grade steel, while 440C is the priciest Japanese grade. All steels above 440C have cobalt added for harder, sharper cutting edges. The “S” indicates the addition of cobalt, while shears in the “V” category have vanadium, titanium and cobalt added. ATS-314 is the best steel used for professional shears and is manufactured by the Japanese company Hitachi.
When purchasing new shears, it’s worth it to seek out the best quality tool you can afford. Shears made of high-quality Japanese steel perform better, hold an edge for longer and deliver superior results. This investment in your career will pay dividends for many years to come.
Go back to The index.
Shear maintenance
Professional haircutting shears are a major investment in your craft, so it’s important to properly maintain and care for your tools. Routine maintenance will keep your shears in top condition for longer and ensure optimal performance.
Follow these steps to protect and maintain your shears:
Every Use
-
Be gentle. Avoid slamming your shears onto the counter or dropping them on the floor. Handle your tool with care to protect the alignment and integrity of the blades.
-
Never use your shears to cut anything other than hair. Professional haircutting shears should never be used like ordinary scissors. Cutting paper, plastic or cloth can dull the blades and ruin the alignment.
-
Clean your shears in-between haircuts. Use rubbing alcohol and a cotton ball to remove any hair fragments or product residue. Be sure to dry the blades thoroughly after cleaning to prevent corrosion.
-
Store your tools properly. When not in use, keep your shears in a dedicated shear case (not loose on the counter!). Each pair of shears should have a dedicated compartment or sleeve to protect against damage. Always store shears with the blades closed.
Every Day
-
Deep clean the shears. If you only have time to quickly wipe off your shears between clients, be sure to give them a thorough wash at the end of the day. Clean them with warm, soapy water or rubbing alcohol and check for stuck hair around the pivot.
-
Oil the blades. After cleaning, hold your shears with the tips pointing down and the blades open at a 45º angle. Put a few drops of shear oil on the inner pivot area, then open and close the blades several times. Let the shears sit overnight. In the morning, hold the shears in a downward position and open and close the blades again to flush out any debris. Wipe the shear clean with a soft chamois cloth, and you’re ready to take on the day!
-
Check tension. Shears with too little or too much tension will not perform well. At the end of each day, follow these steps to adjust the tension on your shears.
Every Year
-
Have your shears serviced by the manufacturer’s shear service provider. They are highly trained and qualified to service that specific brand. While there are lots of cheap sharpening services out there, they often remove too much metal and actually shorten the lifespan of your tool. Plus, many manufacturers will void your shear’s warranty if you take it to another servicer. Plan to have your shears professionally serviced every 6-12 months, depending on how often you use the tool.
-
Do not take apart your shears. If your shears get damaged, send them in for servicing or reach out to the brand’s warranty department.
While this might seem like a lot of work, it’s very manageable once you establish a regular rhythm. Proactively maintaining your tools not only helps prevent damage, it also empowers you to create your very best work!
Go back to The index.
Sam Villa Shears, Compared

| Shear Series | Lengths | Blade Type | Handle & Grip | Steel Quality | Price | Link |
|---|---|---|---|---|---|---|
| Signature Series | 5.5”, 5.75”, 6”, 6.25”, 7” | Handcrafted Convex Edge | Crane Handle | Japanese Molybdenum Alloy | $386-$489 | Shop Now |
| Signature Series | 5.5”, 6.25”, 6.75” | Handcrafted Convex Edge | Highly Sculpted Crane Handle | Japanese Molybdenum Alloy | $438 | Shop Now |
| Essential Series | 5.5”, 6” | Convex Edge | Angled Offset Handle | Japanese Stainless Steel Alloy (Grade 440C) | $232 | Shop Now |
| Artist Series | 6” (slide cutting), 6.25” | Handcrafted Convex Edge | Highly Sculpted Crane Handle | Japanese Super Steel | $489-$1030 | Shop Now |
| Classic Series | 5.5”, 6”, 6.5”, 7” | Handcrafted Convex Edge | Semi-Offset Handle | Japanese Molybdenum Alloy | $386-$438 | Shop Now |
Go back to The index.


