Every head of waves, curls, and coils tells a unique tale—a narrative of texture, shape, and individuality. When it comes to creating a haircut, a personalized approach is key to truly enhancing any texture pattern. Offering advice on how best to do this, Teresa Romero, Creative Director for Sam Villa and Artistic/Education Director for Jose Luis Salon, guides us through her top tips to enhance curls and volume with the Round Curly Cut.
Understanding your client’s hair starts with examining the natural texture, growth patterns, and overall condition. Whether they have consistent patterns throughout or a mix of texture patterns —some areas may boast tight coils, while others may exhibit a playful wave —embracing this diversity is the first step towards crafting a style that truly enhances any texture pattern.
How To Enhance Curl Patterns with a Haircut
- Look at texture - Start by examining the natural texture, growth patterns, and condition of the hair. Some areas may have tighter patterns like coils, while others may be wavier, and it’s not always consistent throughout. Understanding this first will help guide you when it comes to picking the right cut and creating a finished style.
- Think about shape - Taking a step back to examine the overall silhouette helps determine how hair will look when styled. Here are a few common shapes:
- Round - the hair pushes away from the face
- Triangle - hair flows forward and is longer around the face
- Square - hair falls into a natural position with little movement forward or backward
- Combination – a mix of 2 or more of the above
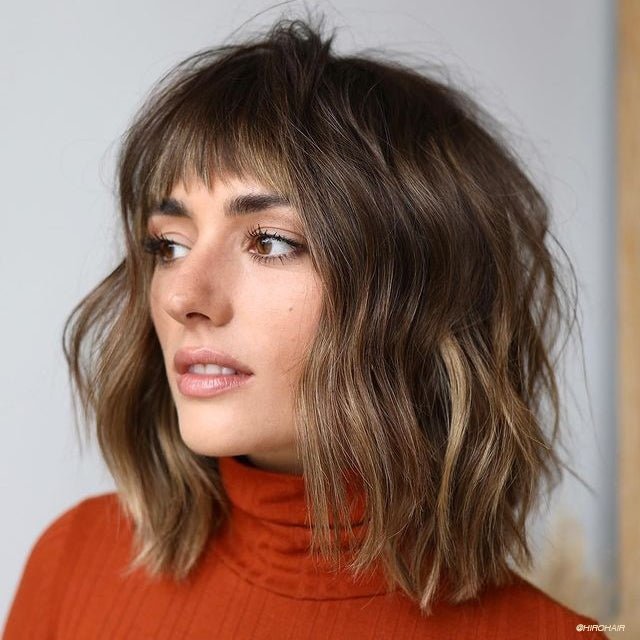
The look we created here highlights our model’s facial features with a round shape, expansive layers for loads of volume, and an eye-framing fringe (think curly baby fringe).
Teresa’s Top Cutting Tips for Curly Hair
The process for cutting curly hair is not as straightforward as other hair types, as you need to think about how the curls will fall once cut. When taking length off, the health of the hair and the responsiveness of the curl will largely determine the shaping process.
- It is very important to properly prep hair with a moisturizing shampoo and conditioning treatment. Depending on how long it has been since the hair was treated, more than one treatment may be required. Waves, curls, and coils tend to be on the drier side, so without added moisture and condition, they will not bounce up to their full potential without this crucial step.
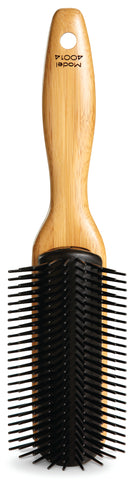
- Generously apply a leave-in conditioner and distribute through hair with a Sam Villa Signature Series 9 Row Finishing Brush. This essential step is also a habit that your client should follow up with at home.
- When cutting, start on the top and sides with the large teeth of a comb and make a vertical/diagonal back section. With moderate tension, over direct hair forward and cut 2 or 3” longer than the desired dry result. This allows room for the curl to bounce back and not be too short. The tighter the texture, the more the hair will shrink as it dries. TIP: Using tension with elevation while cutting wet waves, curls, and coils will cause a larger expansion in the hair, beautiful bounce, and increased movement. Opposed to no tension or elevation where the hair will remain in natural fall and more in control.
- With curly hair types, it is best to keep hair moist and continue taking sections while over-directing forward with moderate tension until no more hair reaches the initial guideline. Allow hair to fall into a natural position and without any tension, shape the perimeter.
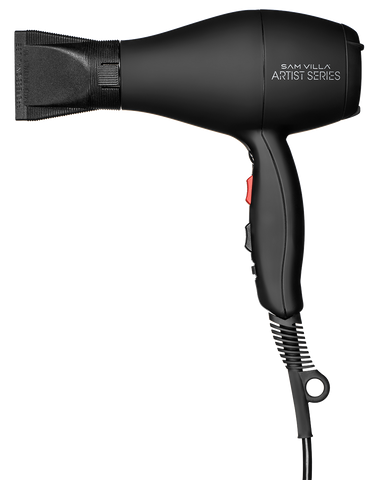
- Curly hair responds best when products are layered. As you layer styling products in, distribute with the brush and allow hair to return to its natural fall. Then, gently squeeze it into shape. After this, dry the hair with a Sam Villa Artist Series Professional Blow Dryer and diffuser by circulating the dryer on high heat around the head until the hair is dry. For added bounce and curl separation without frizz, cradle the ends in the diffuser and gently push hair towards the scalp, hold for a few seconds, and release. For maximum results, repeat this step multiple times.
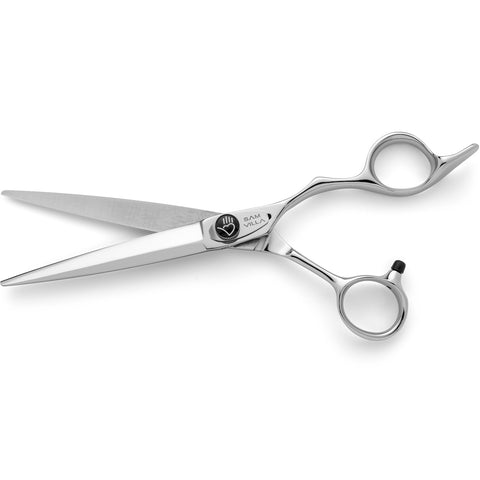
- To finalize the cut, free-hand dry cut with the Sam Villa Classic Series Dry Cutting Shear. This allows you to see the true shape you’ve created and to sculpt and remove any flyaway hairs or unwanted length. For this step, you should avoid using a comb and instead use your hands to shake hair loose.
Shop The Technique:
Sam Villa Signature Series 9 Row Finishing Brush
Sam Villa Artist Series Professional Blow Dryer
Sam Villa Classic Series Dry Cutting Shear
While round haircut shapes have been trending recently, the look is an iconic silhouette that will continue to be popular. “Round shapes are a great way to embrace and enhance natural textures, there’s nothing like cutting a head of curly hair that has just been hanging straight, it literally springs to life before your very eyes!” adds Romero.
To book an in-salon class (hands-on and demos) and/or learn more about where Romero will be teaching, click here.
Credits: Hair/Teresa Romero, Sam Villa Creative Director; Photography/CBC Production; Makeup/Marisa Villa; Model/Leilany Ortiz