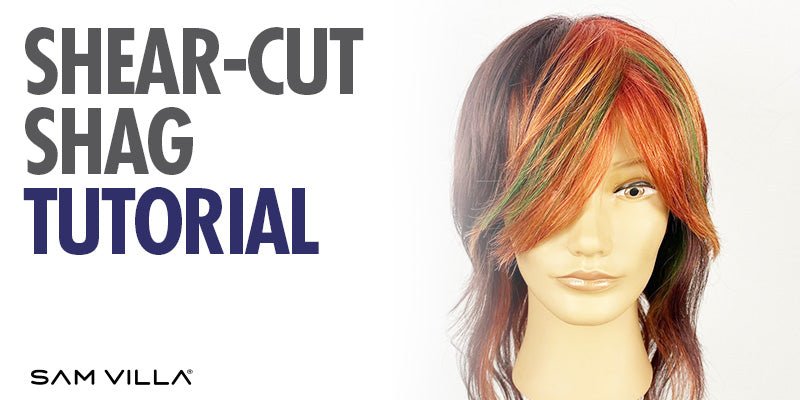
Level-up Your Bang and Fringe Trims with Manda Ziegelman
Keep your guests rocking on by refreshing those shags and textured punk cuts in-between full haircuts! These specialty cuts are built to last, which means your clients may only be coming in every 4-6 months.
Offering maintenance trims lets you add value behind the chair, update the fringe and face-framing layers, educate your guests and ensure they look and feel amazing!
Refreshing a layered rock-and-roll cut can be more than just a bang trim, according to hair artist, Sam Villa Ambassador, and educator Manda Ziegelman. Manda specializes in incredibly creative shags, textured cuts and vivid color work in their Portland and Seattle salons.
They recommend using maintenance appointments as opportunities to check in with your guest, re-consult, and refresh their look so they feel fresh, vibrant and bright!
As always, communication is key. Manda recommends asking your client to come in with clean, dry and natural hair. This helps you visualize how the cut looks from day-to-day.
Read on to discover how to fully revitalize punk and rock-inspired haircuts!
Maintenance Trim: Short, Chewy Crescent Fringe

Give your guest an alternative, textured fringe that still looks symmetrical and balanced.
Refresh and Revitalize
Begin by sectioning off the hair from just in front of the ear to the hairline on each side. Secure the rest of the hair out of the way with Dry Sectioning Clips.
Using your guest’s nose as a reference point, find the center of the bangs and cut this piece to your desired length. (Keep in mind that this will be the shortest point in the fringe.)
Now place the fine teeth of your cutting comb into one side of the bangs, angling the comb so that it tilts down from the center point towards the ear. Point cut into the hair at a slight diagonal, etching away the fringe until you achieve the shape you want. Repeat on the other side.
Next, separate a vertical section of hair next to the bangs and over-direct towards the nose. Using the shortest piece of your fringe as a guide, connect the bangs with the face-framing layers. With your shears horizontal and pointed towards the nose, snip outward to carve in texture. Repeat on the opposite side.
Continue this process with the vertical section just in front of the ear on each side. Fluff out the texture with your fingers and check for symmetry. Freehand in any minor adjustments, if needed.
Finish and Style
Bring out those piecey, punky layers with your Artist Series Professional Blow Dryer and a small round brush!
Place the round brush over the hair and twirl it upwards, scooping the hair up and away from the face while applying heat with the concentrator nozzle of your blow dryer. Maintain moderate tension to flick out the ends.
You can also use your fingers to bend and define small pieces of hair while blow drying with the nozzle straight down. (This is a great method to teach your guests who don’t like using a round brush!)
For added polish and dimension, finish by creating small wavy tendrils on the surface of the hair. Pick up a small piece of hair, place your Sleekr Straightening Iron underneath, and open and close the iron as you push the hair up and through.
Stretch and shape the wave with your fingers, and repeat with random surface pieces until you get the final look you want. Make sure to educate your guest on how to re-create this style at home!
Maintenance Trim: V Bangs

Bold, edgy and eye-catching-- these gothic-inspired bangs are sure to turn heads! Teach your guest how to style their bangs to prevent bad hair days.
Refresh and Revitalize
To cut V-shaped bangs, begin by sectioning the hair for bangs and separating a narrow horizontal subsection next to the hairline. Secure the rest of the hair out of the way with Dry Sectioning Clips.
Identify your guide piece using the center of your guest’s nose for reference. For a longer V shape, start the point of the V in-between your guest’s eyebrows.
Pinch your guide piece in its natural fall and cut it with your Streamline Series Shear angled down. The Streamline Series Shears are perfect for detail work, as they’re extra-sharp and sculpted for precision control.
Working on one side of the fringe, comb the hair with lots of tension. Place your index and middle fingers into the hair, maintaining tension, and slide them down until you reach the level of your guide. Your fingers should form a horizontal line that is parallel to the floor.
Next, use your shears to help you visualize the line you want. Find the level of the midpoint of the eyebrow, and use this as a guide for the high point of the V bangs. Cut a diagonal line, connecting your two guides. Repeat on the opposite side.
Once you’ve created the basic shape, comb through the bangs and complete any detailing that may be needed.
Now take a second narrow subsection, just behind the hair that was cut. Secure the rest of the hair with clips and comb this section forward over the face. Divide the hair in half along the midline. Find your center guide piece and connect the dots to create a diagonal line! Repeat on the other side, then continue this process with the remaining hair.
Finish the V bangs with eye-catching surface texture! Elevate the upper section of the bangs vertically and texturize the ends with your Reversible Blending Shear. This softens the hard edges of the shape and creates soft, natural movement.
Finish and Style

Cowlicks are a common problem for guests with straight, heavy bangs. Don’t miss this opportunity to build value behind the chair by teaching your guest how to style their bangs at home!
Manda suggests misting the fringe with setting spray, then wrap drying with the Artist Series Polishing Paddle Brush. Create an X shape by brushing each side of the bangs to the opposite side of the face while you blow-dry. Maintain tension to smooth any hairs that might pop out.
To take this style up a level, use the Textur Professional Texturizing Iron to texturize every other piece of hair in the crown area. This option is especially valuable for your guests with flat, straight hair who want that rockstar texture!
Maintenance Trim: Dimensional Curtain Bangs

A perfect low-maintenance look for guests who wear their hair up frequently, these curtain bangs open up the face and are long enough to tuck behind the ears.
Refresh and Revitalize
Begin by separating the hair that will form the curtain fringe (from the center of the ears to the hairline). Put the rest of the hair into a bun or secure it with clips.
Create a center parting and identify the piece of hair that naturally falls over the center of the nose. Use your fingers to pinch the hair just below where you want it to fall. Elevate this piece vertically and slide cut up and away from the face.
Next, take a large triangle-shaped section on one side of the center parting. Over-direct this hair towards the midline. Place your fingers into the section and slide down until you reach the guide. Out-cut the hair from short to long, using a “slide and chew” motion with small snips. Repeat on the other side.
Take the hair behind the triangle section (just in front of the ear) and over-direct to the center. Add your guide to this section and slide your fingers down the hair shaft until you reach the guide. Again, out-cut the hair from short to long. Repeat on the other side.
If the curtain bangs look heavy at this stage, remove some weight to build in soft movement. Elevate one side of the fringe vertically, over-direct to the center, and texturize the ends with your Reversible Blending Shear. Repeat with the other side of the fringe.
Finish and Style

For your busy guest who always wears their hair up, why not teach them how to upgrade their go-to bun with some special touches?
Start by placing all the hair behind the fringe in a high ponytail. Texturize several pieces from this ponytail with the Textur Professional Texturizing Iron. Tease the hair gently to bring out the frothy texture, then create a messy topknot and secure it with pins.
Finish off this look by wrapping a cool accessory (vintage lace, ribbon or a bandanna) around the base of the bun. For added visual interest, secure a favorite pin or button to the hair wrap!
Polish the fringe using the Artist Series Professional Blow Dryer and thermal styling brush. Place the brush over the section and roll it diagonally back and away from the face as you blow dry.
While the hair is still warm, sculpt it into a curl shape with the ends flicking out. Clip it in place to set and repeat with the rest of the fringe. Once the hair cools, release the clips, mist the fringe with hairspray, and enhance the layers with your fingers for soft, defined face-framing texture!
Conclusion
Shags and punk haircuts are more than just trends. These speciality haircuts allow us to create a personalized experience for each guest and help them express their individuality and unique style.
Scheduling 30 minutes for an upgraded maintenance trim allows time for re-consultation, a refresh of the fringe and face-framing layers, and client education. It’s an opportunity to build relationships while adding value behind the chair, to keep your guests coming back again and again.
Make sure your guests leave the salon with the exact tools, techniques and retail products they need to rock their best hair ever!