

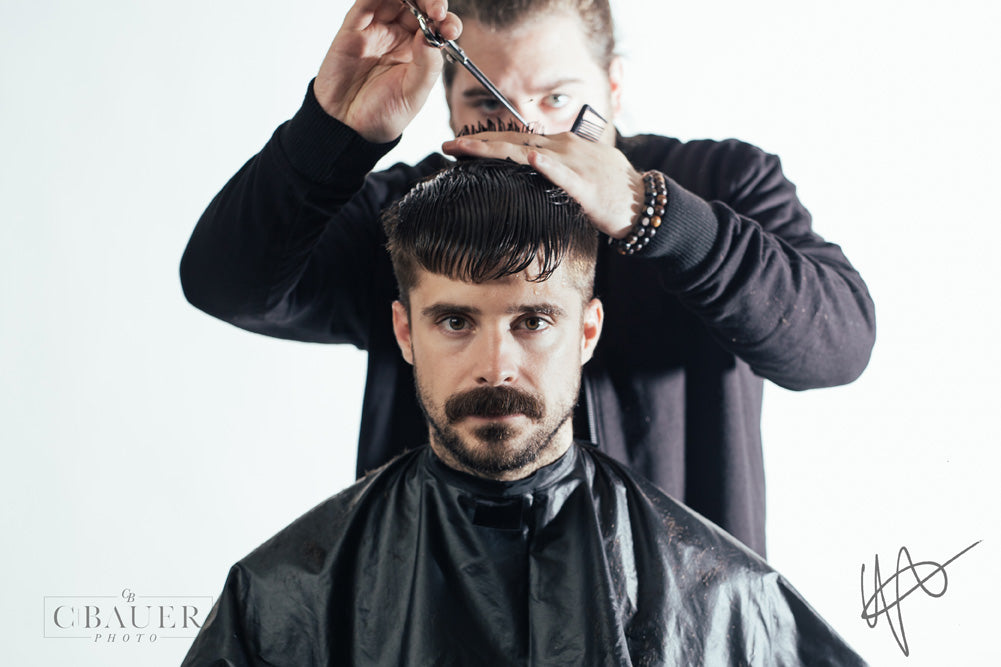
The cold weather is upon us and we are starting to see our guests wanting to transition into longer hairstyles. However, longer does not necessarily mean “long hair”, it means longer than what they have had in the previous summer months. This haircut expresses a middle ground highly textured style. Close scissor over comb work around the sides with a bold texture on top as a visual accent, will set this shape apart from the average men’s crop. Now, let me show you how it’s done!…
Tools For Success:
- Professional 7" Dry Cutting Shear.
- Professional Reversible Blending Shear.
- Profesional Long Cutting Comb (Ivory).
Product:
- Redken Pillow Proof Blow Dry Express Primer ( prep ).
-
Redken Rough Paste 12 ( finish ).

- Begin by isolating and controlling the hair into a horseshoe parting directly on the round of the head.
- As a general rule (not a law) for this haircut, it is best to work off of the round of the head for your parting. You can however adjust (by a half inch) if your clients head shape calls for a wide or narrow parting. The wider the head, the more narrow the parting and vice versa.

- Using a scissor over comb technique, begin at the front right corner at the front of the ear, cutting parallel to the head (using the thickness of your comb as a guide for the length) and up to your previously sectioned horseshoe.
- Continue this method while working with the shape of the head, until ending on the opposite side in front of the left ear to blend evenly.

- To begin your scissor taper, start at the bottom hairline (using the thickness of your comb as a guide) and work in a scooping motion up to the occipital.
- HOT TIP: For your taper, switch to a tapering comb. Tapering combs are skinnier in thickness and will help to take the hair shorter in a more controlled manner. Continue the scooping method while using the thickness of the comb and a guide for the length.

- Once you reach the occipital, lift your comb up and away from the head (scooping). This allows you to elevate the hair, which forces the hair to lay softer. This will help to not disturb the previous scissor work that had been cut, as well as leaving the transition between sections seamless!
- HOT TIP: If you're having issues getting a close taper, ask your client to tilt their head down towards the floor, this will help create tension on the scalp allowing your taper to be tighter! Remember to keep your comb moving slow with fast closings of the shear.
CAN I USE CLIPPERS TO TAPER?
You can most definitely taper with your clipper if you prefer that method..here’s how it’s done!
- Attach your number one clipper guard and begin your taper with your clipper blade open, starting at the hairline and scooping out when you reach the occipital.
- Close your clipper blade halfway and repeat the method scooping away a half inch below your previous line.
- Finally, close your clipper blade all the way and flick the very bottom of the hairline to diffuse and soften for a seamless taper.
- While continuing to work parallel to the head, soften any excess weight or length with your Sam Villa Reversible Blending Shear just below your horseshoe section. This will continue to allow detachment between the side and top but will ensure a smooth transition between the two.
TRANSITION TO THE TOP:
- Starting in the Crown area, take a 1/2 inch horizontal section and point cut at a 90 degree angle.
- Continue this method through the rest of the top. Remember to leave at least two - three inches of hair in length on top for your finished look.
- Begin to cut with your Reversible Blending Shears, starting in the top front right corner to the back left corner of the head to help remove bulk and add inevitable texture. Repeat this method with the remaining hair on top.

WHY POINT CUT? :
If you point cut this haircut, it will allow you to create a diffused edge for a soft transition as well as added texture that will last the life of the haircut!
BLOW DRY:
- Prep damp hair with Redken Pillow Proof and begin to blow-dry the hair down towards the face while using your hand. Act as if your hand is a diffuser, rough up the hair a bit and lift the base to help create slight volume and distressed texture.

- After the hair is fully dried, finish with a dime sized amount of Redken Mess Around 10.

DEBREIF: There you have it, the Royal Texture cut. Your clients will love that you have something to keep their head a little warmer through out the winter season. Remember to keep this style effortless and have fun with the finished result! Enjoy!
