Extensions can be used in a variety of ways to add volume, length, or color. Depending on your client’s hair texture, type, and tone, you can use expert techniques to create a finished look that’s effortless, blended, and bouncy.
In this tutorial, Jada Jenkins, Sam Villa Ambassador, Mizani Artist, and L'amour de Rose Salon Owner @jadajenkinsco, takes us through her tips to create a natural-looking, blended finish with extensions. Keep reading to see exactly how she got the finished look and which tools are essential when it comes to cutting and blending extension hair.
Tips for Applying Natural-Looking Extensions with Bouncy Curls
Jenkins not only transformed her clients’ length, but she also enhanced the color and finished texture. The secret? “Patience + Persistence,” she says. “This was a long process. The guest had previous color that needed to be toned down, but it was worth it!” she adds.
The Steps:
- Start by discussing your client’s daily lifestyle and styling habits to determine their length, volume and style goals as well as upkeep tips.
- From here, choose extension hair that matches the natural hair texture you’re working with to help it look as seamless as possible.
- If you are coloring the hair, once the finished shade is determined, color the extensions the same formula as their new hair color.
- Identify how you will part the hair (side or middle). The Sam Villa Signature Series Tail Comb is ideal here to create those perfectly clean lines.
- Braid hair down flat with little to no major tension.
- Attach the wefts to the braids in a “U” shape to give a natural look and great coverage along the hairline. Depending on how full the guest wants their hair, this will determine how many bundles to put in. On average, Jenkins says she uses 2-3 bundles. Then, the length depends on the guest’s request. For best results, Jenkins recommends going at least 2” longer than their actual hair.
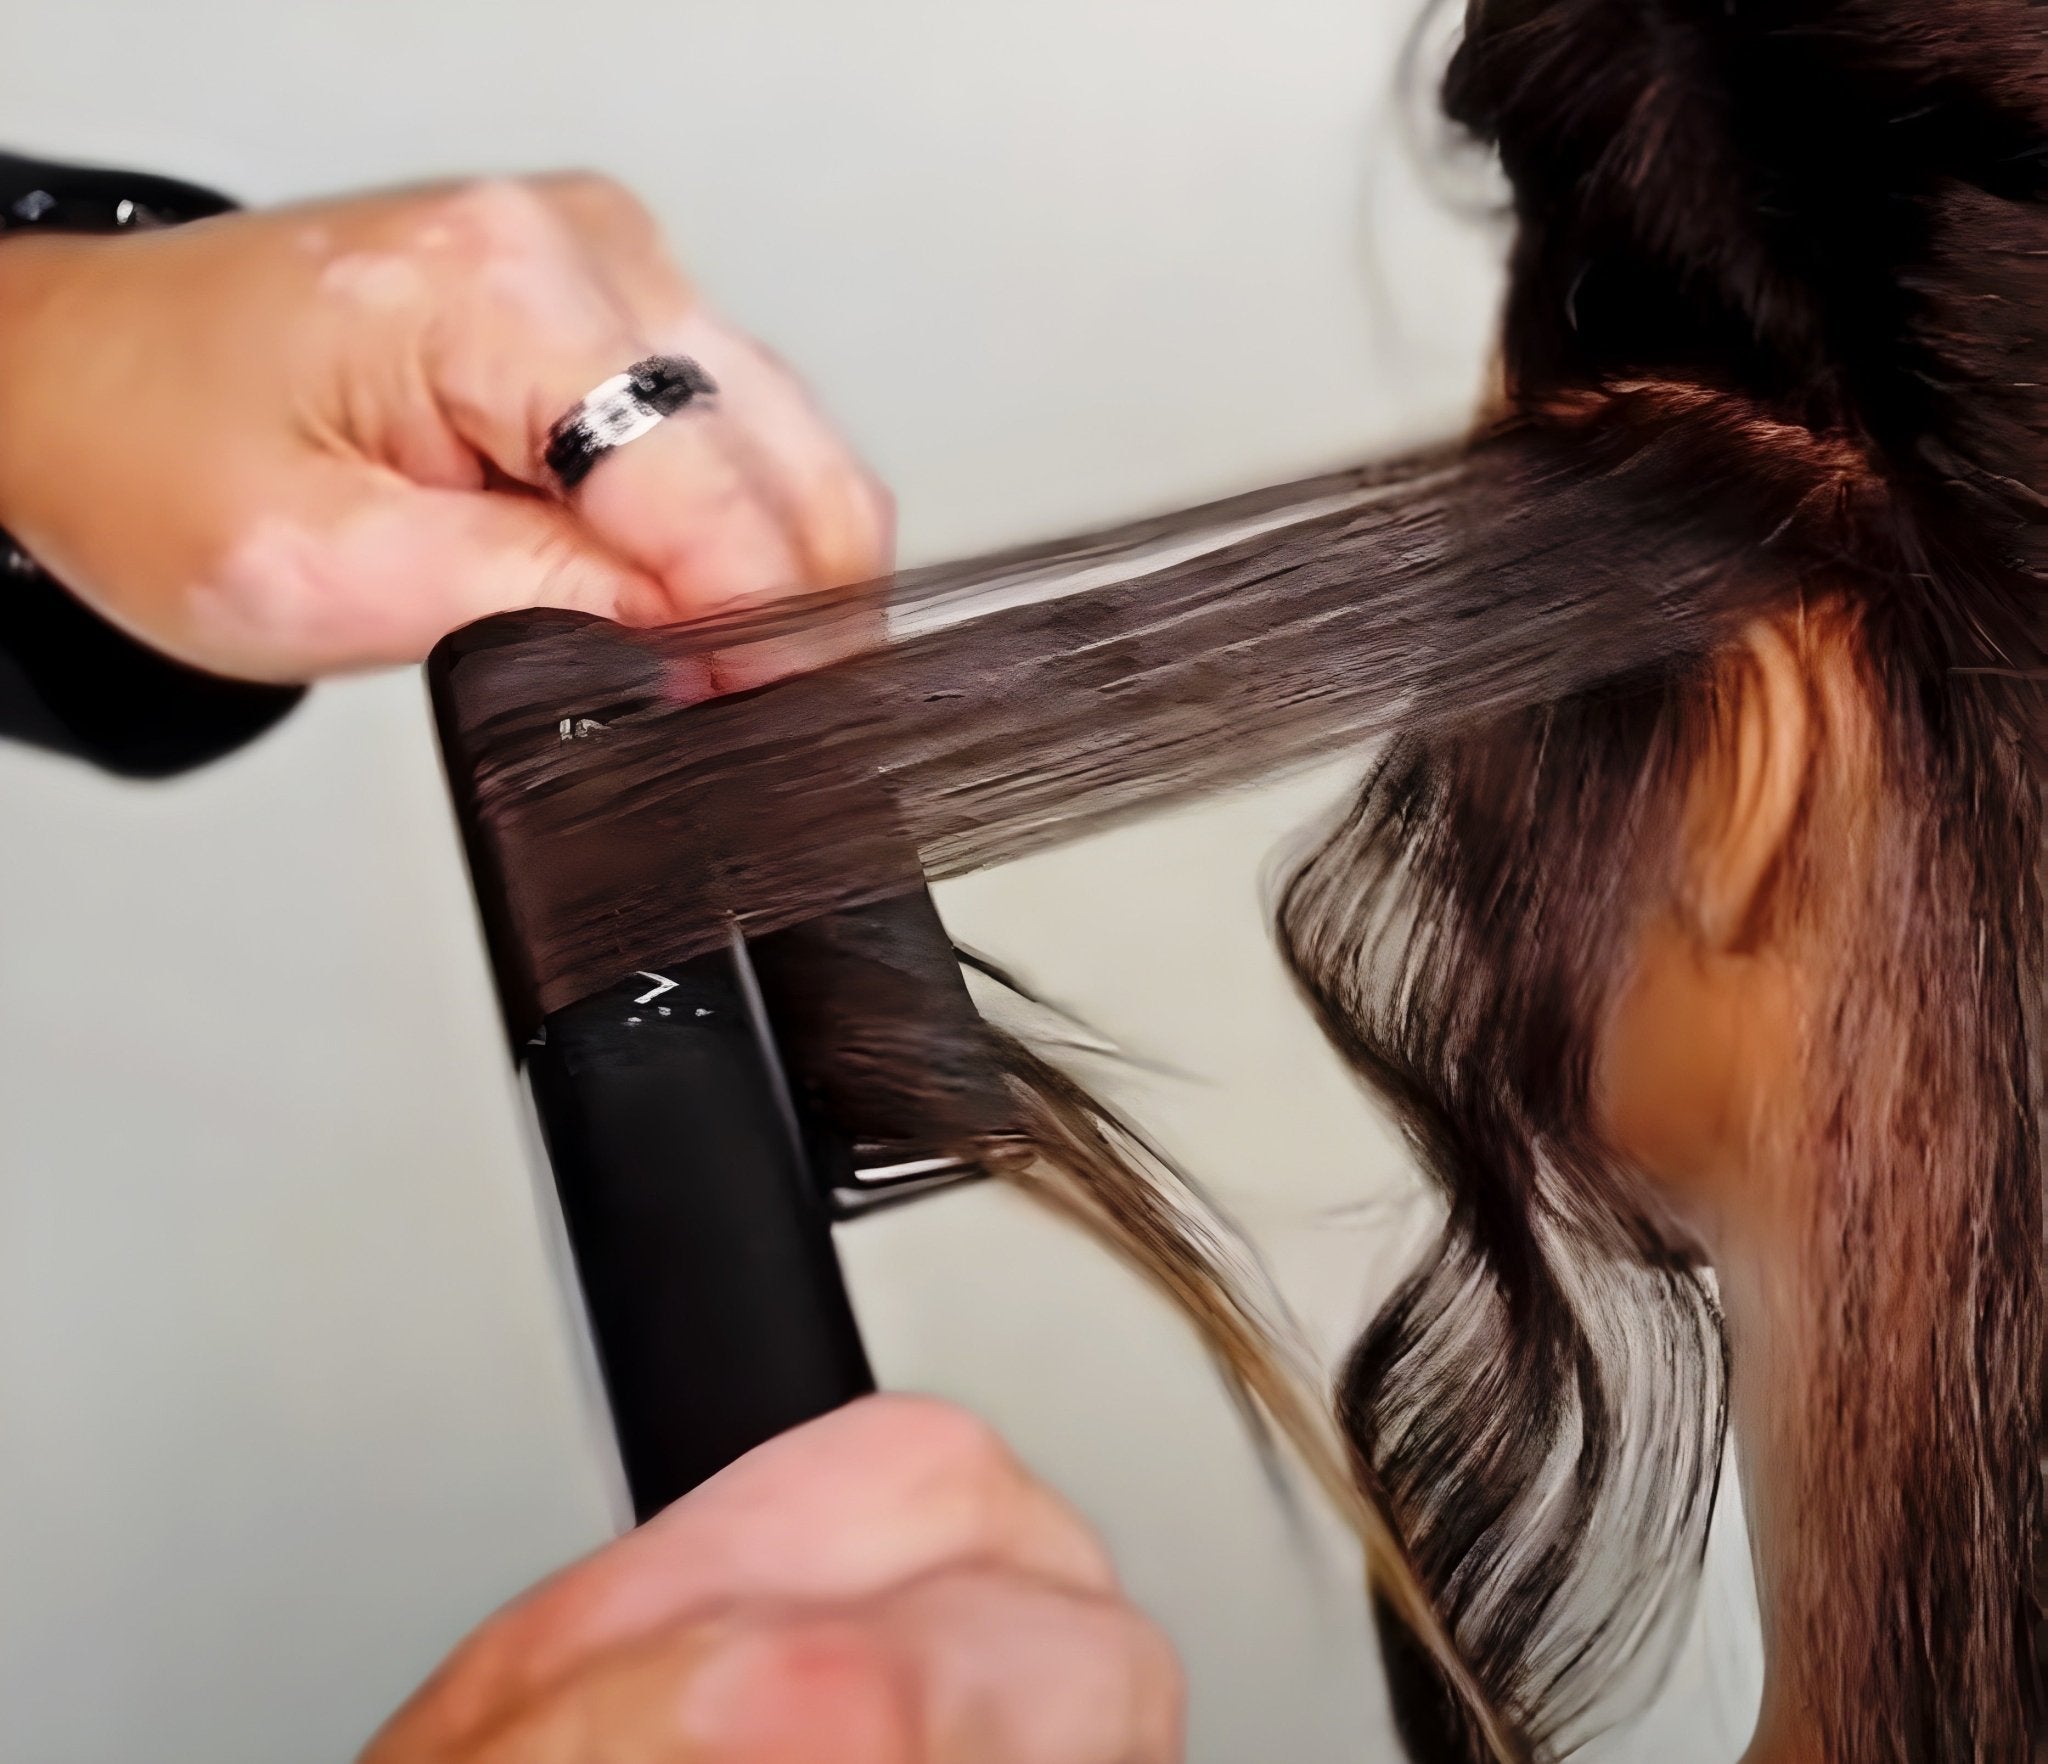
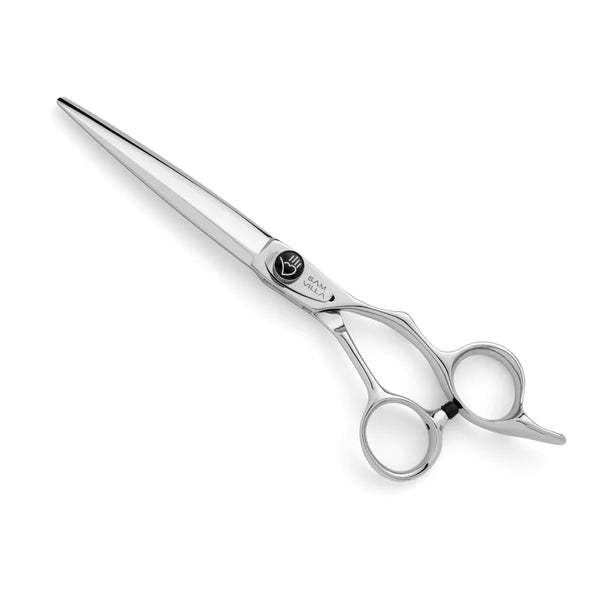
- From here, the fun part begins. You’ll cut the hair/wefts and frame the face as desired. Because blending of extensions is best done on dry hair, the Sam Villa Dry Cutting Shears are essential to create a smooth, tailored finished look.
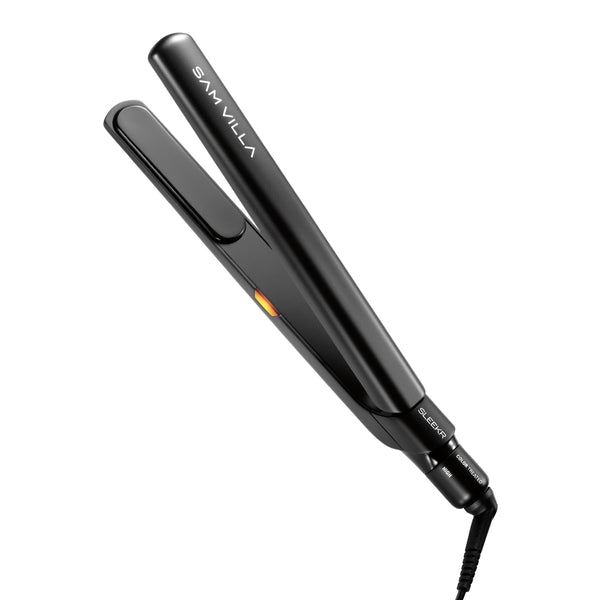
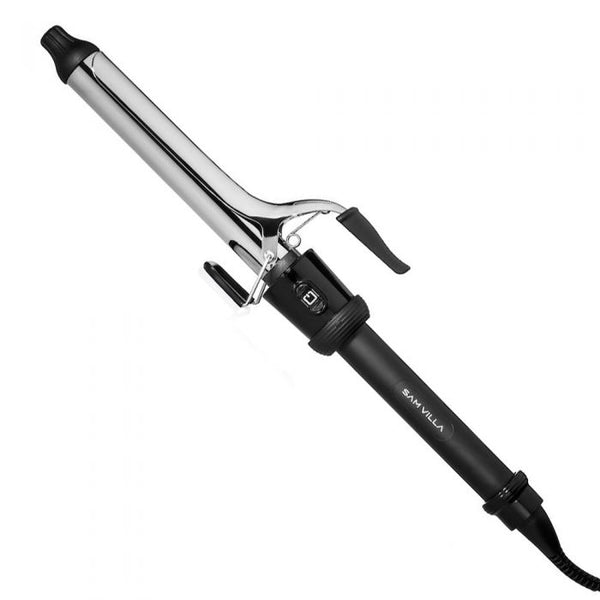
- Because the extensions match the natural hair texture (with a higher texture), smooth the hair out using the Sam Villa Signature Series Sleekr Professional Straightening Iron. Then go in with the Signature Series Professional Curling Iron to create bouncy curls.
Shop The Tools:
Sam Villa Signature Series Tail Comb

Sam Villa Classic Series Shear Dry Cutting
Sam Villa Signature Series Sleekr Professional Straightening Iron
Sam Villa Signature Series Professional Curling Iron
“I recommend never keeping extensions in longer than 8 weeks. And I always suggest that guests pin curl their hair at night to preserve curls and add longevity to the style,” says Jenkins.