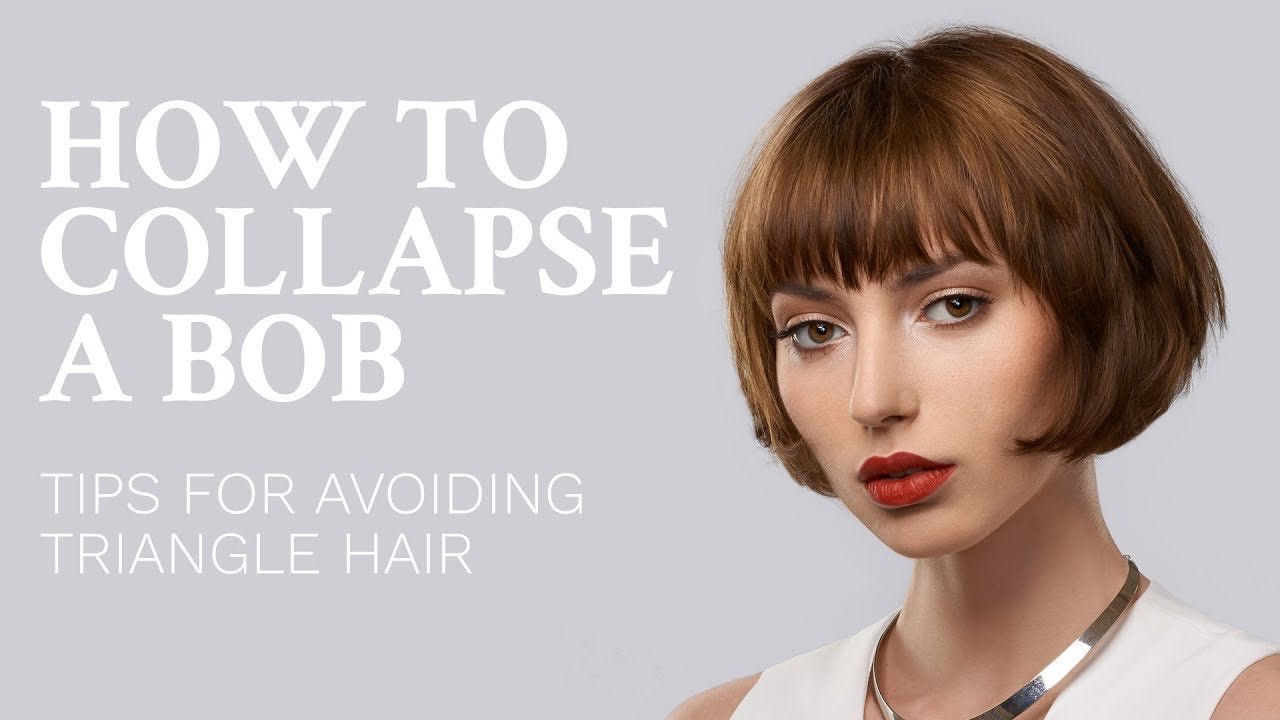
In this how to video, Sam Villa demonstrates two different techniques using a Marcel Iron to create a variation of finger waves.
First, Sam share the secret to creating Red Carpet Waves, think Taylor Swift with deep crests and valleys. This is a dramatic look that is Red Carpet worthy!
How To Create Red Carpet Waves
Tools Needed:
Step-By-Step Process:
- Begin with your first section and mist with Redken Iron Shape 11 from at least 6, away to protect the hair.
- Gather the section, elevate to 90 degrees with thumb and index finger and over direct to the corner of the client's eye.
- Place the Marcel iron in front of the section with the barrel of the iron behind the section. Be sure to keep the hair in fingers close to the barrel at all times.
- Holding the section, face thumbnail up and then twist the hair so thumbnail is facing the floor, slide down and wrap.
- Slide the hair up the barrel making sure to keep thumbnail close to the barrel without closing the blade. Closing the blades of the barrel will produce lines of demarcation inside the crest.
- Repeat the motions until the end of the section: Wrap, twist, thumbnail up, thumbnail down, wrap, twist, thumbnail up, thumbnail, down, wrap.
- Once to the end of the section, drop the elbow of the arm that is holding the Marcel iron, keeping hold of the section.
- While holding the end of the section with the thumbnail turn the Marcel iron in the opposite direction for more tension allowing the heat to do its job. This creates the tension in the twists, the twist is the crest and the flat wrap is the valley.
- Release thumb and place the palm of hand underneath the barrel of the Marcel iron.
- Catch the hair in palm when released from the barrel. If hair is just dropped without catching it, the section will stretch and become loose.
- With the section in palm, spray two shots of Redken Control Addict 28 hairspray.
- Pancake and compress the section in both palms (the hair will be very hot!).
- Allow the hair to cool - be patient.
- Release the section from palm.
- Take your long cutting comb, using the end with the teeth spaced apart.
- Comb through the section to the ends, holding the hair at the bottom for a few seconds to relax the waves.
- Release the section and your loose waves appear.
Optional: If you're working with fine hair or hair that won't hold a curl, texturize the hair before you curl with the professional texturizing iron.
Next, Sam demonstrates how to create Push Waves - the end result appears much softer and organic, they tend to look more natural.
How To Create Push Waves
Tools Needed:
Step-By-Step Process:
- Begin with your first section and mist with Redken Iron Shape 11 from at least 6 - away to protect the hair.
- Gather the section, elevate to 90 degrees with thumb and index finger and over direct to the corner of the client's eye.
- Place the Marcel iron near the scalp with the blade facing down and as you hold the hair with your left hand, begin to push the hair toward the face. Open, close, push the hair; open, close, push the hair and repeat.
- Move the iron down the hair shaft and repeat the process but instead of pushing the hair, pull it back away from the face.
- Repeat the process until you reach the ends of your section.
- The end result is a softer, natural wave.
- Finish with Redken Control Addict 28 hairspray for a lasting finish.
Have some fun and experiment with both of these techniques to discover the best method for the look you're trying to achieve.
Enjoy Red Carpet Waves and Push Waves!


