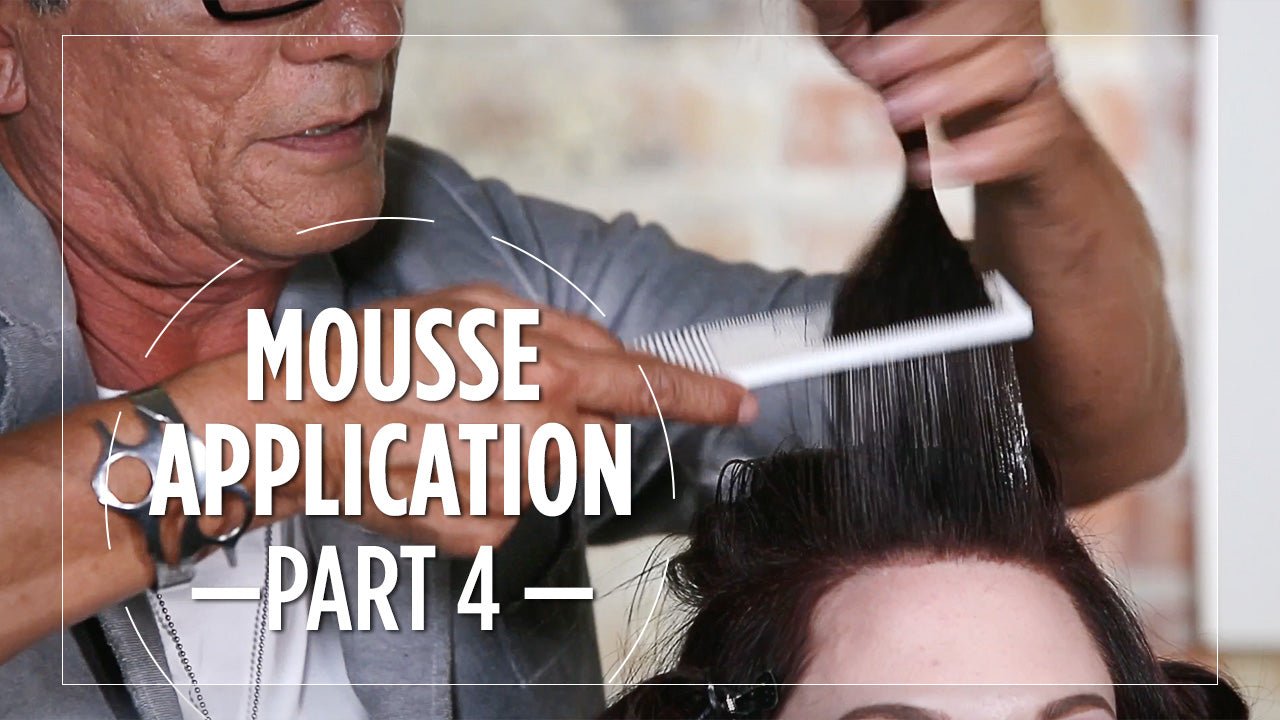
Do you recall practicing roller sets back in school? Whether you loved them or not, those roller sets actually gave you the foundation skills for blow-drying! You may also recall the gaps in the hair from the roller placement. Once the hair was dry and the rollers were released from the hair there were visible gaps that you then had to remove.
Fast forward to today! We want to set you up for success in your blow dry’s and Sam has a game changing technique that will result in outstanding volume exactly where it is needed as well as guarantee no gaps from sectioning.
NOTE: Before you proceed be sure to watch parts 1-4 of our Foundational Blow Dry Series.
- How to apply hair products before blow drying.
- How to wrap dry hair.
- How to curl hair with a round brush.
- How to apply mousse before blow drying.
Sectioning is critical!
Rather than utilizing conventional horizontal partings, Sam presents us with an alternative approach with diagonal sections. This is the key for ensuring no gaps and ensure maximum volume in the center of the volume zone! Check out the pattern Sam has drawn out for you in the video clip.
Tools of Choice:
- Professional Thermal Brush.
- Sam Villa Light Professional Ionic Blow Dryer w/Nozzle.
- Professional Dry Sectioning Clips.
Product of Choice:
- Redken triple take 32 extreme high hold hairspray.
NOTE: This technique is going begin by parting from the right side of the volume zone with a diagonal-forward section.
- Heat up the barrel of your Thermal Brush.

- Insert your brush into the base of the narrow side of the section.
- Over-direct and elevate to create maximum volume in the volume zone.

- Now switch and go over the same section from the wide side.
- Over-direct and elevate.

NOTE: Once you have the moisture out of each section it is essential to set each section:
- Bring your thermal brush through the section keeping aim on the nozzle. Keep the nozzle on the opposite side to control fly-away’s.
- To release the hair from the brush, roll the brush out of the section in the opposite direction.
- Spray triple take 32 and mist into the section.
Pick up the section and set horizontally:
- Once the section is unwrapped immediately apply a light mist of Redken triple take 32 to the entire section.
- Pick up the section with your index finger and overlap with the opposite index finger.
- Begin a swaying motion, rock back and forth to wrap the section to the head in a barrel curl.

Secure the curl with a Sam Villa Dry Clip at the base to allow the section to cool and rest.

Move on to the next section. You will begin on the wide side of this section.
- Heat up the barrel of your thermal brush.
- Insert your brush into the base of the wide side of the section.
- Over-direct and elevate to create maximum volume in the volume zone.
- Now switch and go over the same section from the narrow side.
- Over-direct and elevate.
Once you have the moisture out of each section it is essential to set each section. Follow the technique as described above, immediately after drying each section.
This technique gives you the blow dry focus needed for the volume zone and no more gaps in your end results! You can be sure your client will notice this alternative approach and keep coming back for more, as your blow dry will last longer for them. Another way to change things up to build your skills!
Stay tuned for the final part (part 6) in the Foundational Blow Dry Series, where we show how to finish your blow out!


