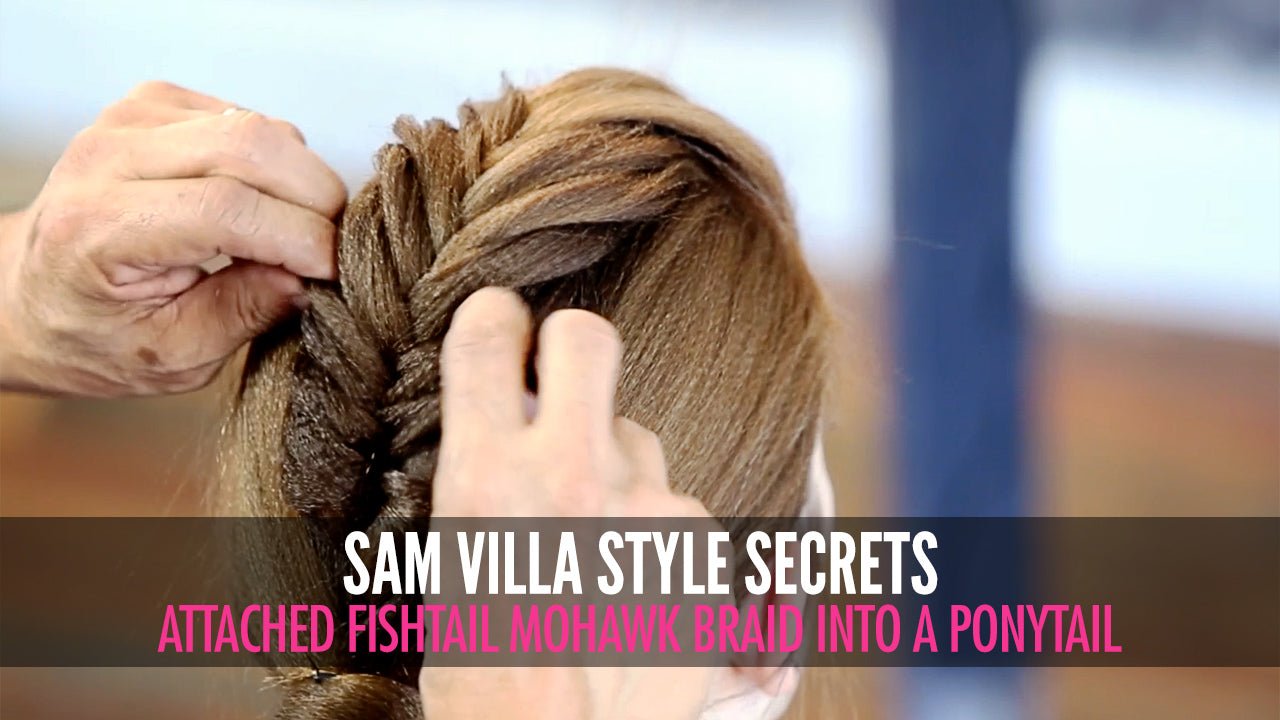
Last year we had a huge influx of guests requesting barber cuts; tight fades with very clean skin edges. Now that some of these guests want to grow their hair out let's get into two texturizing techniques, one practical and one visual that will enable you to give movement to longer length. In this video, Andrew Carruthers demonstrates a razor texturizing technique on a male model working with the Sam Villa Razor and yet another blade in our collection.
Recommended Tools For Success
-
Sam Villa Signature Series Razor using the 9-Gap & 6-Gap blades
- 9-Gap Razor Blade Why this Blade?
- The "U" shaped grooves in-between the gaps hold the hair around them out of the way.
- Only a small amount of hair is removed with each sweep - You are in control of how much weight to remove.
- This 9-Gap blade is great for pre-texturizing to remove weight.
- Sam Villa 6-Gap Razor Blade Why this Blade?
- The "U" shaped grooves in-between the gaps hold the hair around them out of the way.
- This blade is great for texturizing toward the ends of hair.
- 9-Gap Razor Blade Why this Blade?
-
Sam Villa Long Cutting Comb Why this comb?
- You want a comfortable length with narrow teeth at one end to smooth out your sections.
- Use a black comb for lighter hair and an ivory comb for darker hair the contrast will enable you to stay on point and see what you are doing.
Recommended Product For Success
- Redken For Men Get Groomed finishing cream.
- For those who may be fearful of cutting with a razor due to previous end results of roughed up cuticles, adding a "cutting lotion" to the hair prior to the razor cut will give you the "slip" you need to get through the hair easily.
- Once again, we want to remind you that product is a necessity, not an option. We will continue to drive this home to ensure the best end result in cutting and styling.
9-Gap Pre-Texturizing Technique
- Reduces weight.
- Can get close to the head.
- Creates movement and interior texture.
Tips & Tricks: You will see Andrew go into his diagonal forward sections with the 9-Gap blade close to the scalp. Do not fear this the 9-gaps in the blade will only release a soft and small amount of hair. Separation right at the base gives the hair swing and movement, 6-Gap Texturizing Technique.
- Adds texture to ends.
- Need to begin farther out from the head.
- More hair is released with this blade.
Tips & Tricks: This blade has more space between the "U" shaped grooves allowing for more hair to be taken away. You will not be placing the blade into the sections close to the scalp otherwise you stand to remove too much hair that could potentially create volume.
- Section once again on the diagonal forward.
- Come in with the blade toward the ends of your sections.
- Lay the blade on the section with a little pressure and follow through.
- End result is more deliberate, visual texture.


