We have a simple little trick to add character to a traditional 3-strand braid, creating a rose-like finish. The Rosette Braid is the perfect way to accessorize a braid or to change up a hairstyle for the day! The best part is that the Rosette Braid is easy to do and by showing your guests how to create this look at home, it adds value behind the chair!
Before you begin remember that product is not an option, it's a necessity! Our product recommendation anytime you are braiding hair is Redken braid aid 02. It adds a lightweight grip to the hair along with added shine. Using a dime sized amount, emulsify in your hands and rake through the hair. Additionally, we used the Sam Villa Signature Series Textur Iron, texturizing the hair from base to ends to create a thicker braid with more volume in the finished look.
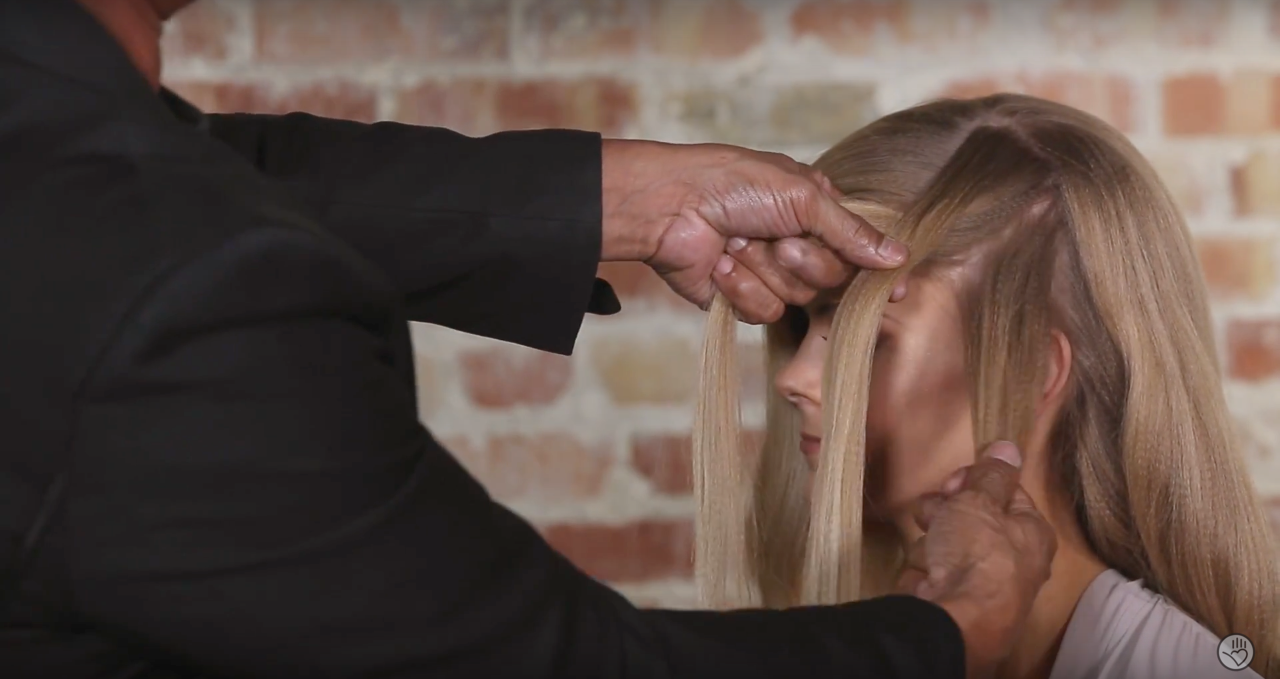
To begin the braid, isolate a section at the front hairline. This section can be as big or small as you would like; the bigger the section the bigger the Rosette Braid will be. Once you have the section created and the braid aid 02 applied to the hair, we are ready to begin.
Create a simple 3-strand braid. Remember to focus on your rhythm, not your hands.
After you complete a few revolutions of the braid, begin to gently pancake the outside strands of the braid - in this instance we are pulling apart the right side of the braid. This will be used to create the rose effect.

Continue with your 3-strand braid, crossing your outside sections over the middle section and then pancaking the outside of the braid until you reach the end of the hair.

Place your index finger in the middle of your braid where it comes off the head and begin to wrap the braid around your finger in a clockwise motion, making sure the pancaked side of the braid is outward.

Take the unbraided ends and wrap them under the rosette braid. Position the rosette in place and use hairpins to secure to the head. The secret to hiding your hairpins it to push them in backward (the rounded part first) and through to the other side. Then grab the rounded end and weave them back into the braid to secure.

The Rosette Braid is so simple and we know that you're itching to try it on yourself, a salon guest, a friend or family member. When you do, post your pictures to Instagram and tag us so we can see your creations and possibly feature your work! Use #samvilla and tag our page @samvillahair.

Have fun with this braid and come back soon for more FREE education just for you!