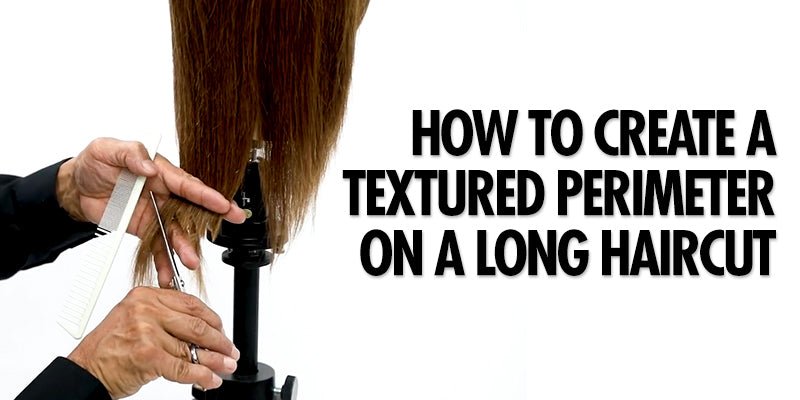
Create soft face framing layers to accentuate your cheekbones with a new technique using the Sam Villa Signature Series Razor!
Watch as Andrew Carruthers, Cultural Ambassador for Sam Villa shows you how in a few simple steps!
WHY DO WE SUGGEST CUTTING WITH A RAZOR?
There are a few blades to choose from within the Sam Villa Razor collection. For this technique, we will be using the 6-Gap texturizing blade.
The 6-Gap blade holds some hair out of the way so not all hair is cut within a section. This creates a beautiful soft texture without leaving hard lines in the hair.
WHAT CUTTING TECHNIQUE DO YOU USE TO CREATE FACE FRAMING LAYERS?
We are going to cut the hair dry. To start the face framing technique, apply Redken Shine Flash 02 all over for a light slip. This will allow the razor to easily glide through the hair during the haircut.
Using Sam Villa Signature Series Short Cutting Comb:
- Find your desired part and carve a clean line with your comb.
- In this video, we will create a side part on the left side of the head, in line with the center of the left eye.
- Hot tip: To find your clients natural part, comb all hair back and gently push the hair up with your palm at the crown. The hair will part naturally.
- Starting on the left side (or at your clients desired part), place your comb on the part 2-inches back from the front hairline.
- Carve out a 2-inch diagonal forward section down to the center of the right eye.
- For a different part, your diagonal will end at the center of the eye on the opposite side of your part.
- Over-direct the section to the left cheekbone.
- For a different part, over-direct to the opposite cheekbone.
- Hold the section at a low 45 degree elevation with tension in between your forefinger and middle finger.
- Place your fingers perpendicular to the base of the section (diagonal forward), just below the desired cutting guide.
- Place the Sam Villa Signature Series Razor flat against the section mimicking the same angle as your fingers, directly on your cutting guide.
- Gently move the razor up and down, gliding side-to-side until all hair is cut.
- Return to your part and carve out a 2-inch, diagonal forward section directly behind the first section.
- Use the outer corner of the right eye as your guide.
- Over direct to the left cheekbone at a below 45 degree elevation.
- Find your previous cutting guide and slide your fingers just below it.
- This ensures that you cut at the guide and not above it.
- Follow the same finger and razor angle.
- Gently move the razor up and down as you move side-to-side until all hair is cut.
- Continue the same technique until you reach the temple to complete your face framing.
- Hot tip: If you cut too far behind the temples, you will start cutting into the perimeter.
To complete your clients new look, grab your Sam Villa Light Professional Ionic Blow Dryer and Sam Villa Artist Series Spiral Thermal Brush and smooth out your section!
FINAL WORDS
The next time your client is looking for a change, suggest face framing layers for a fresh new look accentuating their cheekbones and minimal maintenance! We hope that learning this quick technique will bring a new way to service your clients!
Recommended Tools for this technique
Related Blog Posts:


