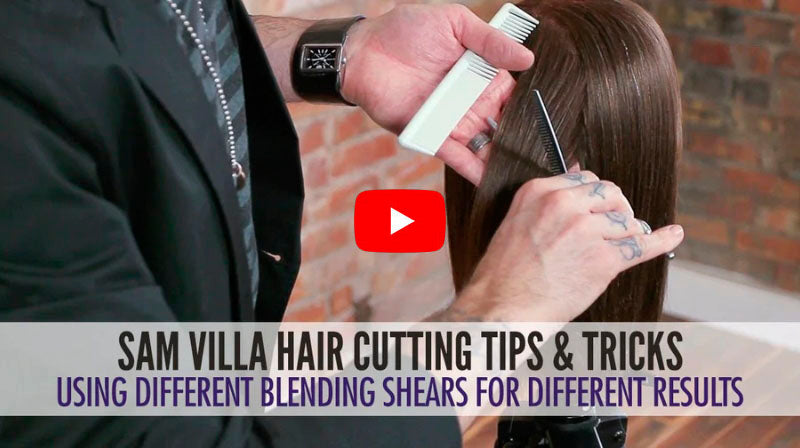
A blending shear is great for removing interior weight, texturizing the surface layer, creating volume and even for entire haircuts! Choosing the right professional shear for you and the end result you would like to achieve is essential.
Sam Villa offers two blending shears - also called thinning or texturizing shears, the Signature Series Reversible Blending Shear and the Essential Series Reversible Blender .
Our Signature Series Reversible Blending Shear features a radial 42 tooth pattern with "V" teeth. These shears will extract a decent amount of weight and will create beautiful soft texture without any hard lines.
Our Essential Series Shear features a 30 tooth pattern and is much more forgiving than the Signature Series Shear. This is an excellent shear for beginning blenders and for those that wish to remove less weight.
For more tips and tricks on how to use both of these shears, watch the video as Andrew Carruthers, Cultural Ambassador for Sam Villa explains the best ways to use our blending shears.

For more ways to use blending shears, check out these techniques:
- How To Utilize Detachment or Disconnection in Your Men's Haircuts
- Men's Haircut Technique: Blending Shear Over Comb
- How To Remove Length Using Your Blending Shear
- Blending Shear Backstroke Technique - Extract Weight & Add Volume
Here at Sam Villa, we make it a point to offer as much value as possible to all hairdressers by giving you options, because let's face it not every technique that we demonstrate will be right for every guest that sits in your chair.
This week, we're excited to share another face framing technique that is especially great for your guests with long layered hair. By utilizing a V-shaped design technique, you will provide your medium to coarse haired guests the perfect face frame with the right amount of lightness and movement!
Adding Face Framing Layers To Long Hair
Step 1: Sectoring
- To begin, place your client in a natural head position with them looking forward, then locate the high point of the head.
- From the high point of the head, you're going to draw a line from the hight point of the head to behind the ear on either side of the head.
- Why behind the ear and not to the top of the ear? Great question! The hair changes density at the top of the ear and you want to make sure you are gathering all of the hair on the side of the head to create the best possible face frame.
- After you have sectioning from the high point of the head along the hairline to behind the ear, use your Sam Villa Dry Sectioning Clip to isolate the hair in the back of the head away from the front.
- Repeat this process on the opposite side of the head until you have the back of the head sectioned away from the front.
- Section from ear to ear, parting to the front hairline. Use your parting pick on the Sam Villa Signature Series Short Cutting Comb to easily draw your part lines, gathering all hair above the round of the head on both sides.
- This should leave you with a rectangle section on top of the head to the front hairline, a left side section, a right side section and the back hair clipped out of the way.
Step 2: Cutting the V-Shape Into The Front
- Pick up your Sam Villa Signature Series 7" Dry Cutting Shear for this next step. Since you are cutting through a large, dry section of hair, this shear will perform better without pushing the hair due to the reinforced blade design and length of the blade.
- Over direct the entire top rectangle section forward to an imaginary square line in front of the head.
- Elevation is 90° horizontal (meaning, the hair will be horizontal/flat with the floor).
- The length that you cut the hair is determined by the shortest point where you want the face framing layer to fall. An easy way to measure this is to elevate all of the hair forward then drop a small piece out to see where it falls on the face. Pinch that point with your index finger and thumb then bring it back to your section and that will be your guide.
- Next, you're going to cut a V into the front of the rectangle section, making sure that you are cutting from long on the outside to shorter in the center.Go back and clean up your cutting lines until you have established a well balanced "V" cutout in the section, then you can release the hair.
Step 3: Connecting The Front V Into The Sides
- Begin by taking a center part.
- Hot Tip: If your guest wears a side part, shift your part to the side so the face frame is more even.
- Begin on the the right or left side of the part and comb all of the hair on that side of the head, beginning at the part just behind the ear, forward past the hairline.
- Your elevation will be the same as before - 90° horizontal and over direction is straight forward.
- Find the shortest point from the length that you cut into the V and the longest point along the perimeter, then adjust your finger angle and cut a straight line to connect those points.
- Repeat the same process on the opposite side of the head, combing all of the hair forward then connecting your short and long points.
- Note: As long as your perimeter lengths were balanced prior to cutting the V, you will have balance on either side of the head.
- Finally, remove the clips in the back and comb through the hair to check your work. Feel free to adjust the shape as needed to clean it up.
There you have it! A simple way to cut V-shaped face framing layers for your long haired guests. As we mentioned earlier, this technique is perfect for your guests with medium to coarse hair types because it will add layers and lightness with plenty of movement.
Give it a try in the salon and be sure to come back and let us know how it went.
Make sure you join our email list and be the first to know when we release new free education!
Follow Sam Villa on Facebook & Instagram and be sure to subscribe to our YouTube channel for FREE education!


