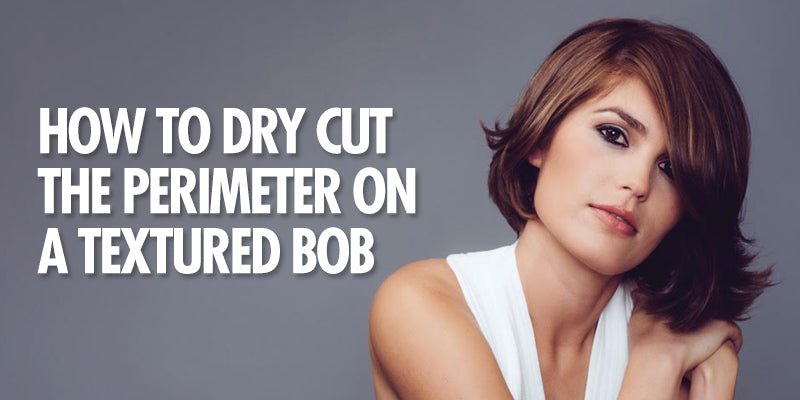
Create a textured perimeter on longer hair to achieve a more natural line and lived-in style! Discover the Crosshatch Method in this haircutting tutorial with Sam Villa, Redken 5th Avenue Global Artistic Ambassador and the Co-Founder & Chief Creative Officer of Sam Villa for a fast and efficient way to remove length and create movement simultaneously!
WHY DOES A TEXTURED PERIMETER COMPLEMENT LONGER HAIR?
Hair grows from the scalp at a different pace so the perimeter is always, naturally graduated. When blunt lines are cut at the end of a haircut it looks unnatural. Longer haircuts with blunt perimeters tend to lack movement and bounce most, especially when there’s no layers or internal texture cut. This is due to the weight of the hair.
When we cut using a Crosshatch Method, the hair has a more lived-in style by placing in texture. Cutting texture at the perimeter, we remove bulk creating the ability for us to keep the hair length while adding movement and bounce!
HOW DO WE CUT THE CROSSHATCH METHOD?
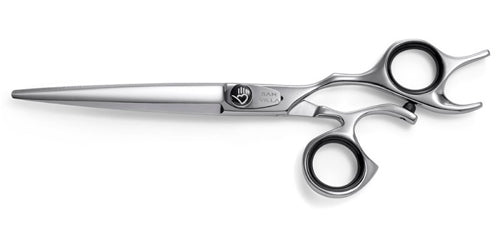
In this tutorial, we will cut about 2-inches off the hair length using Sam Villa Signature Series Short Cutting Comb and Signature Series 7” Dry Cutting Shears.


- Carve out a middle part from the front hairline to the crown using the bridge of the nose as a guide.
- To gather your first section, place your comb at the end of the middle part at the crown on the left side.
- Draw a line with your comb to behind the left ear and end at the nape.
- Place your comb at the end of the middle part on the right side.
- Draw a line to the back of the right ear, then end at the nape.
- This will be your back section.
CROSSHATCH METHOD:
- Gather the ends in between your index and middle finger, up 2-inches from the bottom.
- Hold Signature Series 7” Dry Cutting Shears at a 45 degree angle and the points of the blades facing in (towards the left).
- You will start on the right side and move to the left as you cut.
- Cut triangles on a 45 degree angle, with the blades facing in.
- Once you reach the left side, turn your blades to the opposite 45 degree angle.
- Points of the blades will now face out- to the right.
- Direct the blades into the hair on a 45 degree angle as you cut the points off of the triangles just cut.
- Once you complete cutting, you’ll notice the ends will have shorter to longer lengths resembling upside down triangles.
- Keep the section in your hand and place the wide teeth of the comb behind your section (teeth facing the hair).
- Secure the teeth into the section about 2-inches up.
- Remove your hand to change its position.
- Place the hand with the palm facing towards the neck and the index finger behind the section.
- Knuckles facing you, and middle finger on the outside of the section.
- Flip the hand to face the ends upward (towards the ceiling).
- Bend the knuckles slightly to create a “fan effect”.
- This is where the ends resemble a fan, parallel to the floor.
- Place the blades of the shear into the ends, working from right to left.
- As you cut, twist the wrist to end at the opposite direction.
- Ends facing the floor.
- Continue to cut until you’ve reached the desired diffusion.
- As you continue to cut the perimeter around the head, use the same crosshatch method and direct all hair to the same placement as the first section in the back.
- Follow the same technique and cutting guide.
FINAL WORDS
We hope this allows your longer haired clients to feel more comfortable with getting haircuts more frequently without the fear of losing too much length! Although this technique complements longer haircuts, the Crosshatch Method can be used to create texture on all haircuts looking for a more lived-in look too! Let this inspire you to explore new ways of adding texture into your haircuts behind the chair!
Recommended Tools for this technique

Related Blog Posts: