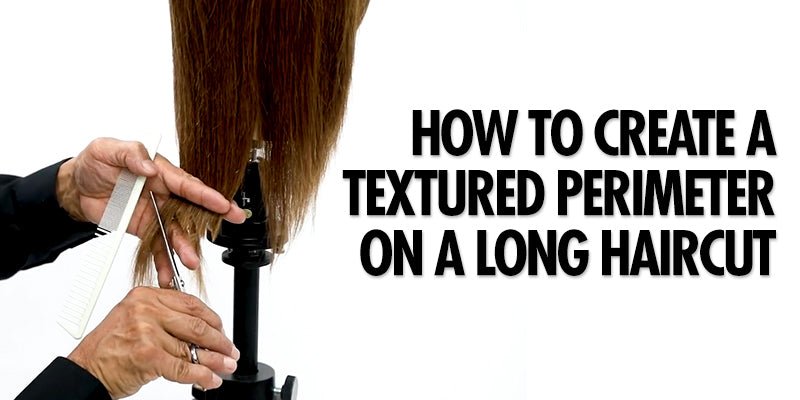
Dry cutting doesn’t have to limit your haircutting style. Discover a new technique to cut the perimeter of a textured bob with Sam Villa ArTeam, Jesse Linares. Try this freehand style for dramatic texture while removing length—all while saving you time behind the chair!
HOW DO YOU KNOW WHEN TO CUT HAIR DRY?
Our team believes that any style can be achieved with a dry cutting technique. The key to successfully cutting dry hair is to finish the hair to replicate your clients everyday style. This is done prior to cutting.
In this video, we share a textured bob cutting technique on a client that wears their hair curly everyday.
HOW SHOULD WE STYLE THE HAIR PRIOR TO CUTTING?
Always use workable products. For the curl style in this video, we prepped the hair using Redken Iron Shape 11 thermal heat protectant. This protects the hair from the heat of the curling iron used, and ensures comb-ability while we cut the hair.
• Start by setting the hair with the Sam Villa 2-in-1 Marcel Curling Iron and 1-inch wand.
• For more natural waves, detach the spoon for a wand!
WHAT IS THE TECHNIQUE USED FOR A TEXTURED CUT?
Once the hair is styled the way your client wears it, it’s time to start your dry cutting technique.
- Our favorite comb to use while dry cutting is the Sam Villa Artist Series Handle Comb.
- This is often used for shear or clipper over comb, but the space between the teeth of the comb is great for cutting a perimeter.
- Using the jawline as a guide for one end of your comb, place the spine of the comb on a horizontal against the skin of the neck.
- The teeth will be facing you.
- Be sure to line the teeth of the comb in line with your cutting guide.
- Tap the hair into the teeth of the comb.
- This eliminates all tension on the hair and avoids disrupting your curls.
- Position your hand to hold the Sam Villa Signature Series 7” Dry Cutting Swivel Shear at an above 45 degree angle.
- The blades pointing down and thumb tang facing up.
- Place the shear into the hair about 1-inch above the teeth of the comb.
- Slide the blades of the shear into the interior of the section.
- Cutting this way will provide deep interior texture.
- Close down on the shear as you glide down to meet your cutting guide (the top of the teeth on your comb).
- Cut all hair held in the comb.
- As you move towards the back of the head, you will want to subdivide your sections in a Horizontal breakdown.
- Continue to follow the same cutting guide, and same cutting technique until you reach the fringe area.
Cutting Technique Steps:
- Place the spine of the comb on a horizontal against the skin of the neck with teeth of the comb in line with your cutting guide.
- Tap the hair into the teeth of the comb.
- Position shears on a 45 degree angle (blades) facing down, 1-inch above the teeth of the comb.
- Glide the blades into the interior as you cut, to reach the top of the teeth of the comb.
- Once you reach the fringe area, you will direct the section to the place it will live once it’s styled.
- The fringe area will be in natural fall, so if it’s cut that way, we risk cutting the length too short.
- Gently direct the hair back to the cheekbone and mirror the opposite front section, then cut your section using the same technique.
FINAL WORDS
We hope this finds you inspired to use a dry cutting technique more often. Whether it’s on straight, wavy or curly hair, there are ways to approach dry cutting in a unique way.
Recommended Tools for this technique:
Related Blog Posts:


