We point cut with shears all the time, so why not think out of the box and point cutting with a razor? It's a great way to loosen up blunt lines in a shape and add texture and separation immediately. Point Cutting with a Razor Note: It is imperative to use a straight razor with a guard.
Tools Required For This Technique:
How To Point Cut With a Razor - Step by step:
- Prep hair with Redken outshine 01 - it coats the hair and helps buffer it for control.
- Take a horizontal section of hair that needs to be texturized and hold it between the index and middle fingers.
- Place the thumb underneath both fingers and make a fist to "fan" the section.
- Pick up your razor with a straight edge blade guard as if writing with a pen (with the blade turned up).
- Rotate your wrist and begin to "flick" the ends of the hair with the razor while rotating.
- To take out more hair, go in on a diagonal.
The benefit of using a razor instead of a shear when point cutting is a razor generates short to long pieces - it actually carves out the edge of the hair shaft where you place the blade.
Think about it this way - when you pull a blade of grass up from the ground, it's thick at the base and becomes narrow toward the end - it bevels!
Point Cutting with a shear yields a blunt edge. This technique is best done on dry hair to better determine the amount of hair being removed. It is also not suggested for naturally curly hair.
Watch this technique on video above.
Learn more about the ergonomic benefits of the professional razor.
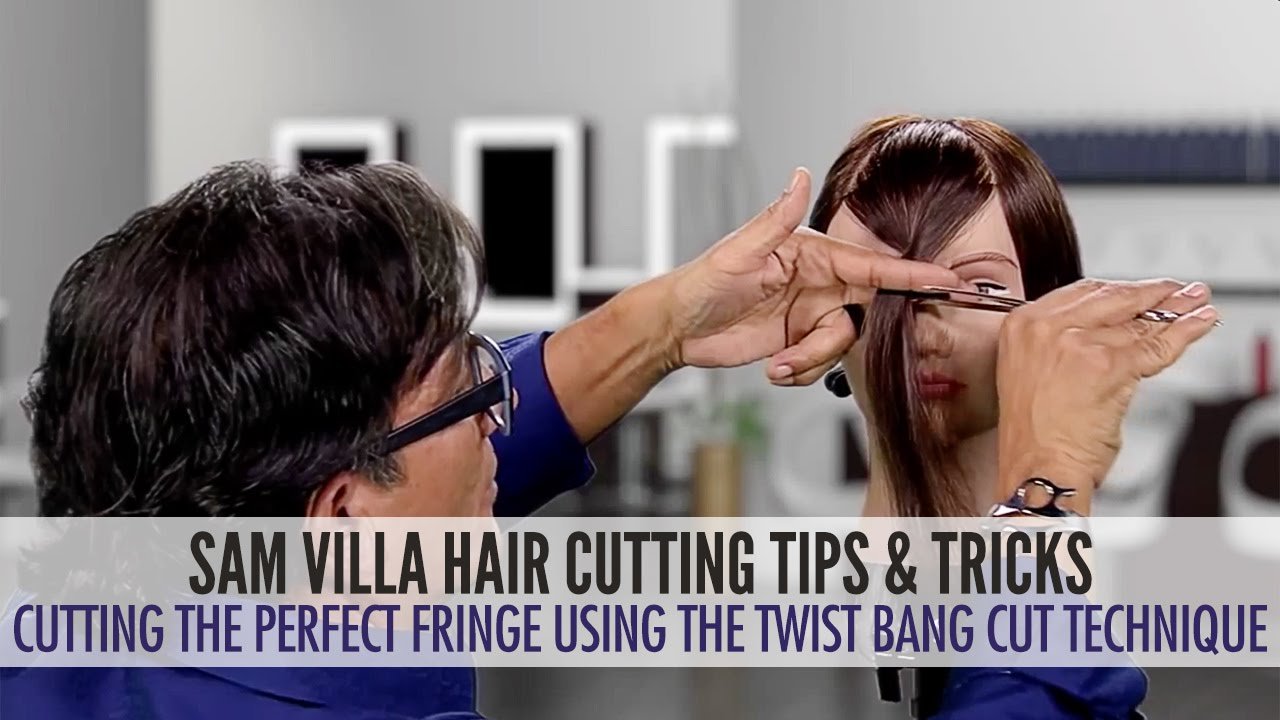
Click here to learn the razor twist cutting technique. And if you're looking for other ways to add visual texture to hair, check out this video!