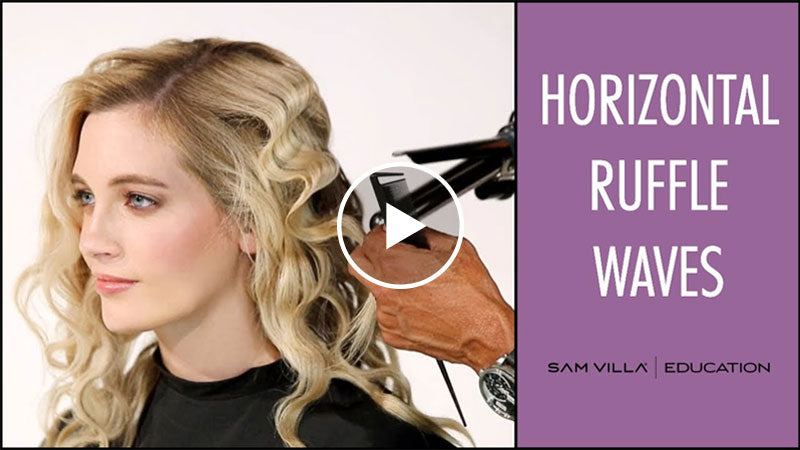
Spark your creativity with a new technique for organic, textured waves using Sam Villa 2-in-1 Marcel Curling Iron & Wand.
Sam Villa, Redken 5th Avenue Global Artistic Ambassador and the Co-Founder & Chief Creative Officer of Sam Villa Company shares a quick tutorial using horizontal iron placement to create ruffled waves with volume!

Style inspired by ArTeam member Anna Peters.
WHAT IS THE PRODUCT OF CHOICE?
The first step when styling hair with heat tools is applying a thermal heat protectant! Our product of choice, Redken Iron Shape 11 for heat protection up to 450 degrees, and control for a long-lasting style! Iron Shape 11 has a unique benefit of heat re-styling so you can refresh or re-style at anytime!
Note: Heat restyling memory is the perfect solution for people that change their style from day to night. Go from curly to straight or reactivate your style by re-applying heat to the hair.
WHY DO YOU USE A HORIZONTAL IRON PLACEMENT?
Horizontal iron placement will create a few “ruffles” within each section resembling ocean waves. Envision what waves look like when you are looking down at them from a boat.
The ruffles move towards you and away from you.
- This technique will achieve more of an organic wave look. It will also add volume within each section.
Traditional wave techniques use vertical iron placement. This will create “ruffles” within each section with a side-to-side pattern. Envision what waves look like when you are parallel to the ocean- sitting on the sand. The waves appear to move from side to side.
- These waves are slimmer and lay flatter to the face. They create more modern styles.
WHAT IS THE TECHNIQUE FOR CREATING ORGANIC WAVES?
Hold your Sam Villa Signature Series Tail Comb in your non-dominant hand and Sam Villa Artist Series 2-in-1 Marcel Iron & Wand in your dominant hand.
- In this video tutorial, most of the head was styled to show the final look. To start this style from the beginning, you will want to start at the nape and move towards the front.
Gather a 2-inch deep section at the nape from ear to ear. Clip up the rest of the hair.
To start the style:
- Lift the section about 1-inch off the scalp.
- Keep the clamp (known as the spoon) of the iron open, hold the barrel horizontally underneath the section, and about 3-inches down from the root.
- The clamp of the iron will be in front of the section.
- At 3-inches down from the root, place the hair onto the curve of the barrel, holding the ends with tension (directed towards the floor).
- Hold for a few seconds to allow the heat to mold the hair.
- Slowly roll your wrist in towards the scalp as you clamp down on the section.
- Hot tip: By moving your wrist in with the barrel as you clamp, you eliminate a hard line in the hair.
- Use the Sam Villa Signature Series Tail Comb to smooth out the ends of the section.
- Hot tip: This comb is heat resistant! Use the tail of the comb to wrap more hair around the barrel or assist with releasing the iron.
- Hold for about eight seconds and release the iron keeping the section elevated from the root.
- This will create your first ruffle (a beveled curve with a slight indent at the bottom) resembling a backwards C.
- Reverse your iron position with the clamp (spoon) underneath the section, and the barrel on top of the section.
- Hold the iron horizontally and place the edge of the clamp (spoon) at the bottom indent of the “backward C” created in your previous section.
- Place the hair against the curve of the barrel, and clamp down turning your wrist out to form a “C”.
- Gather your ends up towards the ceiling. Hold with tension.
- Count to about eight seconds. Release.
- Continue alternating the iron position with the barrel underneath your section, then the barrel on top of your section to reach the ends.
- When the section is complete; Gather your next 3-inch wide, 2-inch thick section.
- Continue the same technique to complete the entire head.
You can use any size barrel for this technique! Just remember the larger the barrel, the wider the distance between each ruffle. Sam Villa Artist Series 2-in-1 Marcel Iron & Wand has a 1-inch or 1.5” barrel. We chose these sizes due to their versatility to create most of all wave styles!
To make this tool even better- it’s a wand and Marcel in one and has the added benefit of an extra-long barrel to cater to styling longer hair!

HOW DO WE CREATE TEXTURED VOLUME?
We will use our hands to promote texture and volume. Using our hands will allow us to achieve an organic style.
Apply Redken No Blow Dry Just Right Cream to your palms and emulsify by weaving through your fingers. Separate your fingers and gently rake through the waves from mid-shaft to ends to allow the product to evenly distribute through the strands.
This will help separate the waves and add texture.
To finish your style, mist Redken Fashion Work 12 onto one hand. This is a medium control hairspray without a sticky-hairspray feel. Palm the ends of the hair and gently close your fingers as you push the end up-like an accordian. Continue around the head palming areas of the hair and scrunching gently.
FINAL WORDS
Next time you’re asked to create a wavy, undone hairstyle, we hope that you feel inspired to use this new technique!
Recommended Tools for this technique


Related Blog Posts: